How To Plant an Attractive Succulent Display
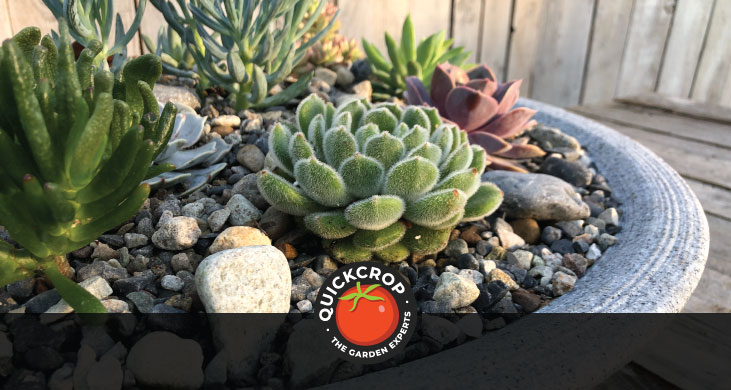
The trouble with pots and planters made from ceramic or stone is that they are heavy (extremely heavy if we're talking about stone), and can split in a heavy frost. From our point of view, they are also virtually impossible to ship without getting broken.
Until now, the trouble with plastic planters was that they didn't look very nice - but this has changed in recent years, with some really good ones coming on the market. One that I am very impressed with is the granite effect bowl used in the following demonstration. It's lightweight (handy if you want to place a planting display on a table) and made from high grade recyclable plastic that has a very pleasing roughened finish.
View the Varese Low Bowl Planter
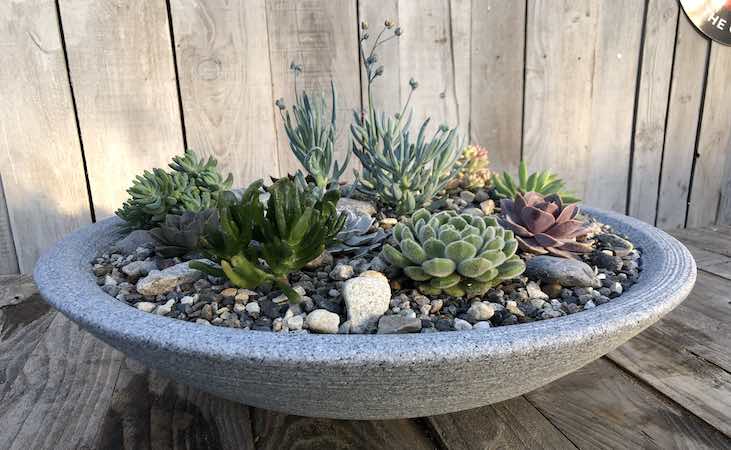
I had been waiting for these bowls to come in to do a succulent planting tutorial with Jack, so as soon as they hit the warehouse floor we sprung into action.
Shallow bowls like this are ideal for planting succulents, as the plants have shallow root systems and don't like deep, wet compost. A wide bowl also allows plenty of gravel between the plants, which is all part of the look as it recreates their natural stony desert habitat. Succulents will need to be kept indoors in winter as - despite their muted frosty colours - they are unable to cope with cold temperatures.
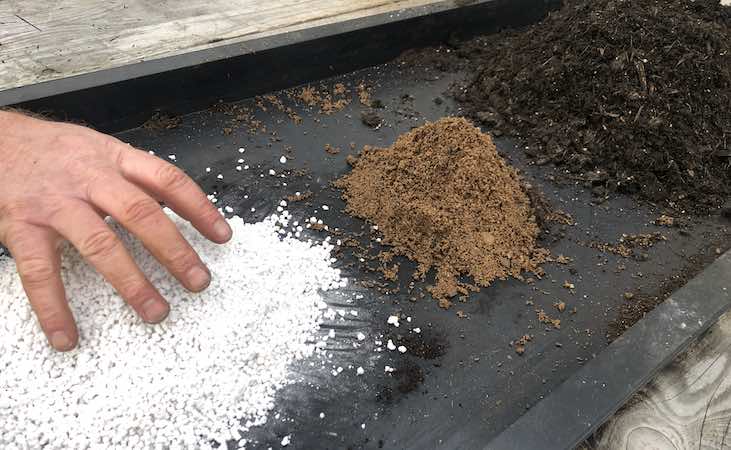
Compost mix
As regards the planting mix, drainage is key so we are using 50% peat free compost, 30% perlite and 20% horticultural sand. We are also mixing without adding any water: succulents need very little moisture, so we don't want to plant them in a damp bed.
View Perlite Seedling Compost Improver
There is frequently some disagreement on whether gravel should be placed in the base of pots (to assist drainage). My opinion is that you shouldn't - but given that an indoor succulent display should be watered very infrequently, it shouldn't make much difference as the compost should never become saturated anyway.
The bowl is filled with the compost mix without compacting it down. The goal is to keep everything light and open for the roots, with plenty of air spaces in the compost.
View Westland Horticultural Sand
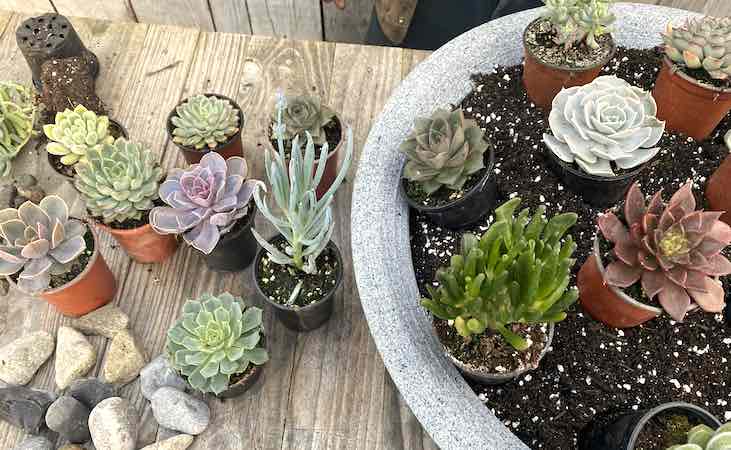
Jack's tip for arranging your planting scheme is to do so when the plants are still in their pots rather than tearing into planting straight away. To get the look you want, there will likely be a lot of moving plants about to get them how you like them - and obviously it is a lot easier to make changes before they are planted.
It's up to you how you want to arrange plants, but in general taller plants should be placed towards the centre of the bowl. This is especially true if the finished article is to be used as a display in the centre of a table, and may be viewed from all sides.
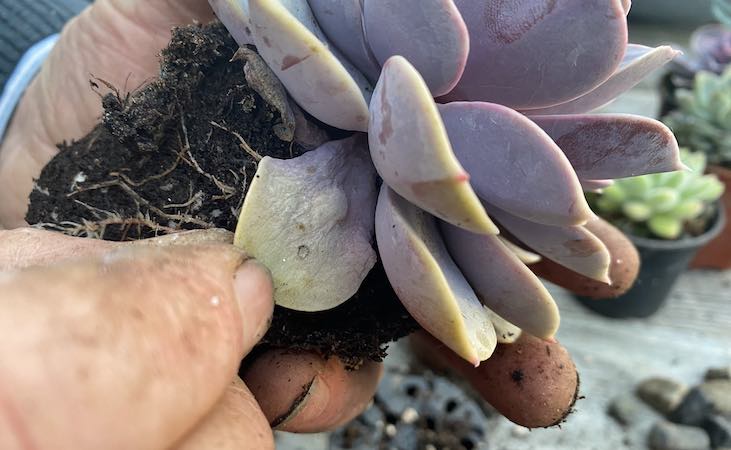
To prepare the succulents for planting, you can remove some of the compost from directly around the plant stem to clean away any weed seedlings which may be present from the nursery. You should also remove any older leaves which may be dying back around the base of the plant. These will be obvious, as they are wrinkled and soft and look very different from the plump, healthy leaves above. To remove the leaves, twist and pull sideways rather than pulling straight out - otherwise the base of the leaf may remain.
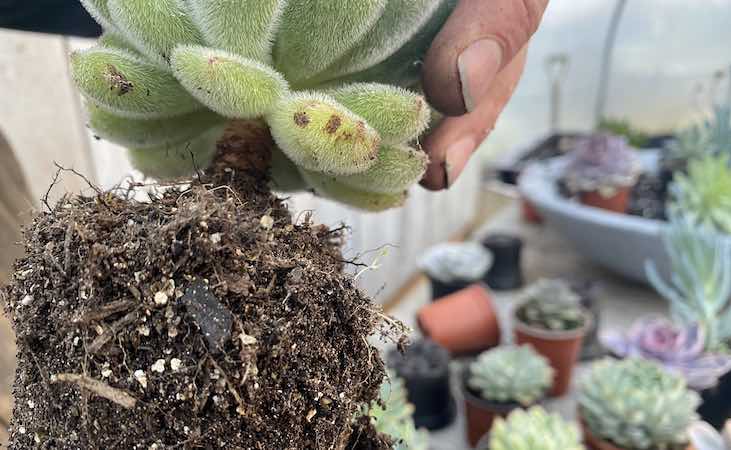
The idea here is to create a decent space between the surface of the compost and the first tier of leaves. The reason is that the plant will be dressed with gravel after it is planted, so we need some extra space to avoid burying the lower leaves. You can see an example above, with a cleaned main stem with plenty of room.
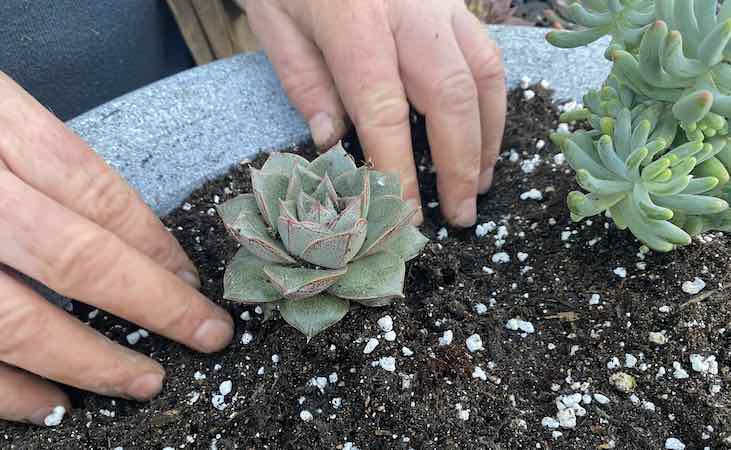
It is a bit difficult to see in the photo above, but you should create a little mound of compost to plant into (rather than creating a dip as you normally would when planting outside). Partly this helps prevent water collecting around the roots, but it also makes it a lot easier to dress the stone around the plants when you are finished.
Planting is as you would expect: firm the compost in gently around the roots. Don't worry if taller succulents can't be made to stand up straight in the loose compost. This can be corrected when the stone layer goes in and gives more support.
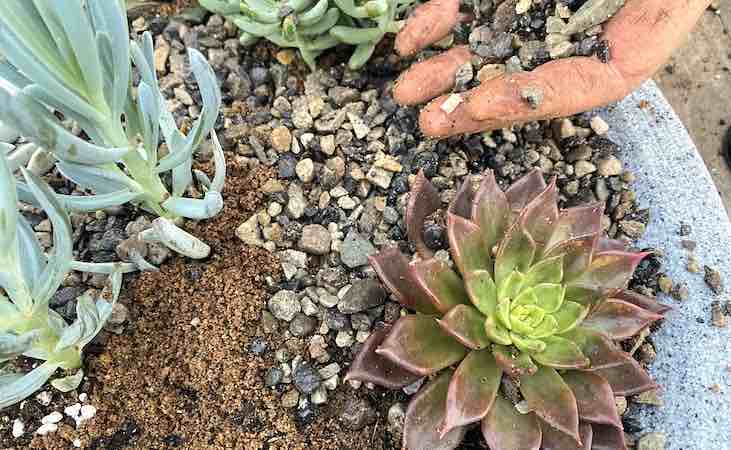
The gravel layer can be added straight to the surface of the compost but, if you have sharp sand to hand (we did because we used it in the compost mix) it is better to add a layer for the gravel to bed into. We have used 3 different grades of the same gravel in our display to add interest: we have a fine pea or riverbed gravel, a larger size driveway gravel and a few larger rounded pebbles to finish it off.
Add the fine gravel first and then add the larger stones on top, pushing them down into the first layer to settle them so they don't sit on the surface like cherries on a cake.

Once you're happy with the gravel, it is clean up time. You will inevitably have got a little compost, sand or small bits of gravel in between the succulent leaves. Any debris can be removed with a plant label or any other blunt instrument that won't damage the leaves. We have used a plant mister bottle filled with warm water to wash down the plants and to clean the gravel. This also provides any moisture needed to settle the plants in.
Always keep in mind that these plants are from arid climates and have adapted to survive with very little water, so a fine mist of moisture is all they need rather than heavy watering. You can tell when plants need to be watered if you see the leaves starting to lose their full, solid shape and starting to wrinkle. They are expecting to have to deal with long periods of drought (as they would in their natural habitat), so letting them get a little dry is far better than overwatering - which will kill them by rotting the roots.
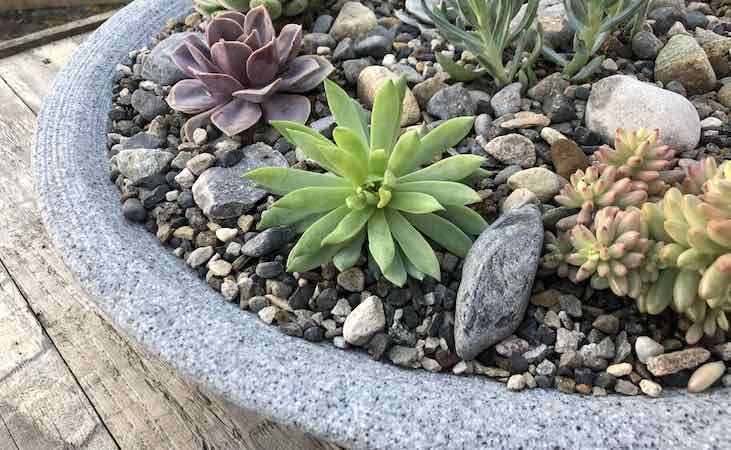
That's about it. This planting took Jack about 20 minutes to complete and looked fantastic when it was done. I did think that the gravel looked a bit dull in colour when I saw it in the bucket - but when contrasted with the bright greens and dusky reds and blues of the foliage, it all came to life. You could use a more lively coloured gravel but it might end up looking too 'busy'. A neutral background would appear to be best.
I am delighted with the bowl, as I said. It genuinely looks like a solid granite piece unless you peer at it very closely. As I said in the beginning, light weight is a big plus as I was able to carry it out of the tunnel and place it on the dining room table without giving myself a hernia.

It will not surprise you to learn that we stock everything you need to create your own beautiful succulent display just like this one including a range of over 20 different plant varieties to choose from. I have included a link to the succulent section below which you can view by clicking the yellow button below.
