
A Guide to Growing Cosmos

Last season I trialled sending trays of some of the more unusual cosmos varieties as seedling plug plants. The exercise went an absolute bomb, with the whole lot sold and people still talking about how amazing their garden looked.
Unfortunately - due to our change to organic status in the nursery - I can't offer cosmos plants for sale this year (because the seeds aren't organic), but I have decided to offer the same varieties as seed instead.

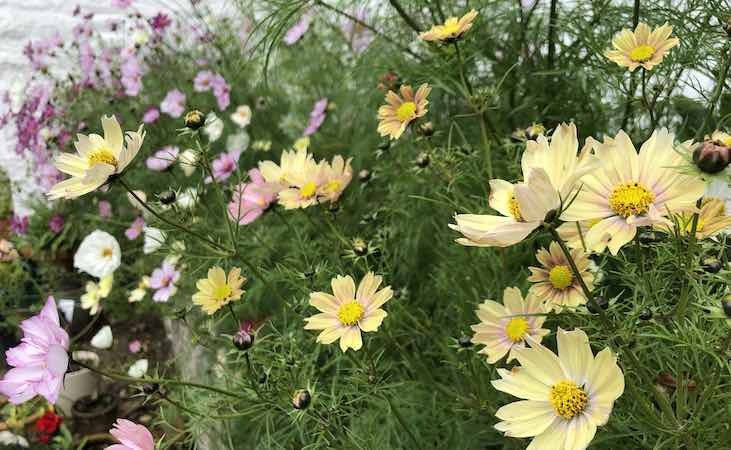
Cosmos or Mexican Aster is a relatively common annual flower that gives fantastic value in terms of its eye catching blooms and long flowering season. Less common are the more subtle varieties like 'Apricotta' or the wonderfully pale yellow 'Xanthos'.
Cosmos Varieties
Our literally hot off the press new seed packs include all the varieties I grew last year, of which there wasn't a single dud. Our range of Cosmos bipinnatus includes no less than 11 varieties including 'Antiquity', 'Apricotta'. 'Apricot Lemonade', 'Fizzy White', 'Fizzy Rose Picotee', 'Cupcakes Blush', 'Cupcakes White', 'Sonata Carmine', 'Sonata Pink Blush', 'Xanthos' and 'Candyfloss White'.

Cosmos Bipinnatus Cupcakes Blush
View ProductI have included only one Cosmos sulphureus ('Crest Orange'), because its informal shape and fantastic rich orange looks so good mixed with other cottage-style cut flowers.
Sowing Cosmos
Cosmos aren't terribly fussy about soil, and are very easy to grow once you get them going. Like everything, there are a couple of tricks which (once known) make it easy but can trip you up if you're in the dark.
The main thing to remember is that, like many annual flower seeds, cosmos needs light to germinate. This can look a bit odd when you sow them with the long, narrow seeds just lying there on top of the compost. It is hard to resist the urge to cover them up. The tricky bit is that seeds need moisture to germinate, while the surface of the compost - and therefore the seeds - can quickly dry out.
The solution is to place a small piece of glass over the seedling tray, or place the whole tray in a plastic bag to keep the moisture in. This is one of the reasons I sow multiple seeds in small trays, because they are easier to cover.

The little green trays pictured came from a broken 'Super 7' propagator that was lying around, and are ideal because of their little lids.
The seedling plants are pricked out and transplanted to their own cells once they have come up; this would be around the stage pictured above. You can pot them into individual 7cm pots, or in trays with a large enough cell size. I use our Huw Richards re-usable seedling trays, which are just right size wise.

Huw Richards 20 Cell Tray
View ProductI won't be planting my cosmos out until early May, so I will need to pot on into a larger pot before they finally go outside. As we've said before, the reason for using progressively larger pots (rather than putting them straight into a big one) is that you are less likely to kill them from overwatering. A large volume of compost with a single small seedling in it takes a long time to drain; if it's too wet the roots can be starved of oxygen and die.

I would also highly recommend pinching out the growing tip when you have 3 sets of true leaves. The seed leaves are the pair of single leaves you can see in the photo of the seedling tray; the true leaves are the ferny-looking ones shown above.
Pinching out does the same job as clipping a hedge, i.e. the plant gets bushier. A bushier plant has more lateral branches which, in turn, will give you more flowers. Pinching out is easy: simply nip out the tip of the centre of the plant, as shown in the photo.


