Grow Your Own Oyster Mushrooms.
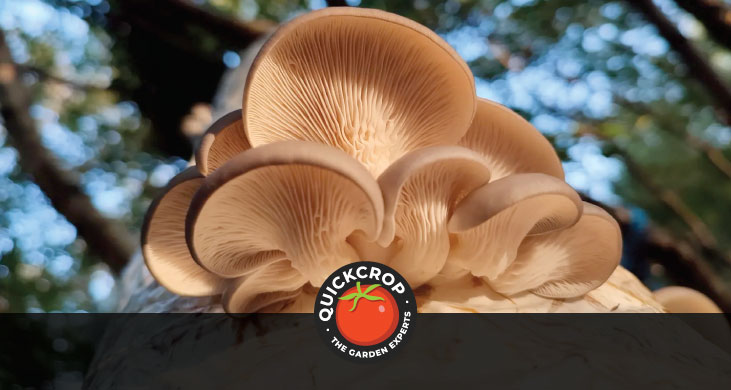
We pay them scant attention and know so little about them, yet fungi are critical to our survival. They support us indirectly by recycling carbon rich organic matter and by using their underground networks to feed plants through their roots. They support us directly by providing the basis for antibiotic medicines, while also being a direct food source.
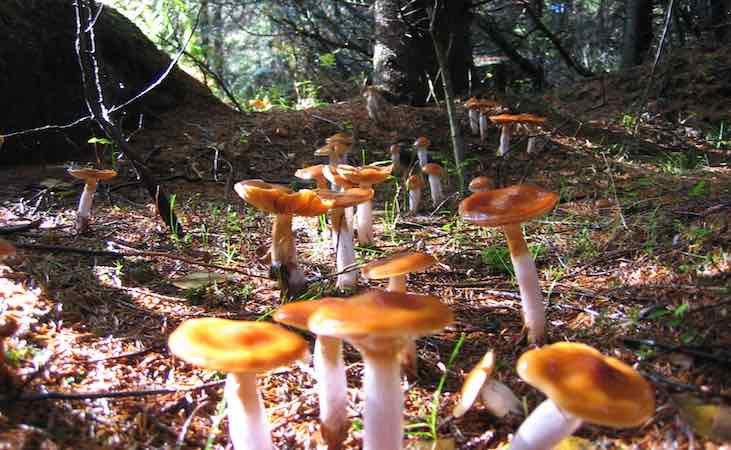
N.B.: The mushrooms in the image above are NOT oyster mushrooms, nor do I have any idea what they are or if they are edible, the image is just an example of a fungi in its natural setting.
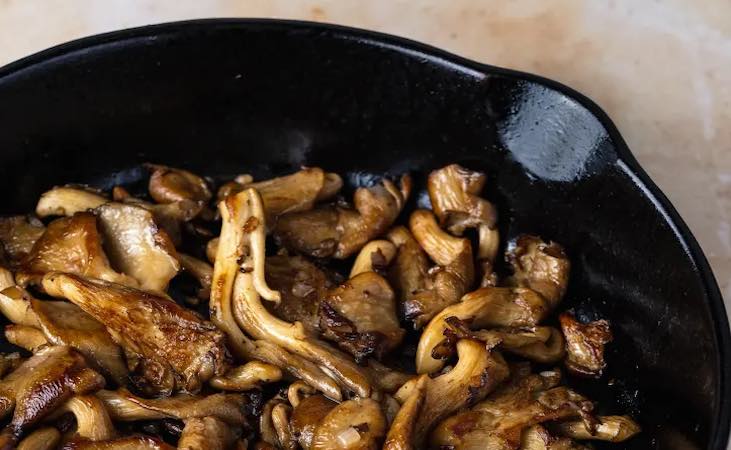
Mushrooms are also able to create unique savory flavours due to the glutamate they contain, which triggers the fifth basic taste (alongside sweet, sour, salty and bitter). This savory element is referred to as 'umami'. Glutamate is what gives mushrooms a beefy flavour, especially when dried or roasted. Oyster mushrooms are one of the meatiest tasting types.
Here's another interesting thing, particularly relevant for this time of year: mushrooms are high in vitamin D, which has been shown to decrease the risk of seasonal depression. Known as the 'sunshine vitamin', vitamin D is synthesised in our skin when we are exposed to sunlight - which is why we may become deficient in the winter months.
It turns out that animals and fungi are more closely related to each other than either group are to plants and, get this: fungi also have the ability to make vitamin D in their skins. This means that your common button mushroom bought in the shops (which is grown in dark conditions) doesn't have high vitamin D levels, whereas homegrown mushrooms which have been exposed to sunlight do.
How to grow oyster mushrooms
Pleurotus ostreatus - the pearl or winter mushroom - is arguably best for this time of year, as it will grow in cooler temperatures down to around 10˚C. They will however grow faster at between 18 and 20˚C, so are ideally placed in the kitchen or another relatively warm room while being kept away from radiators or other direct heat sources. The pack should be kept out of direct sunlight, but it does need daylight to trigger the mushrooms to grow and develop.
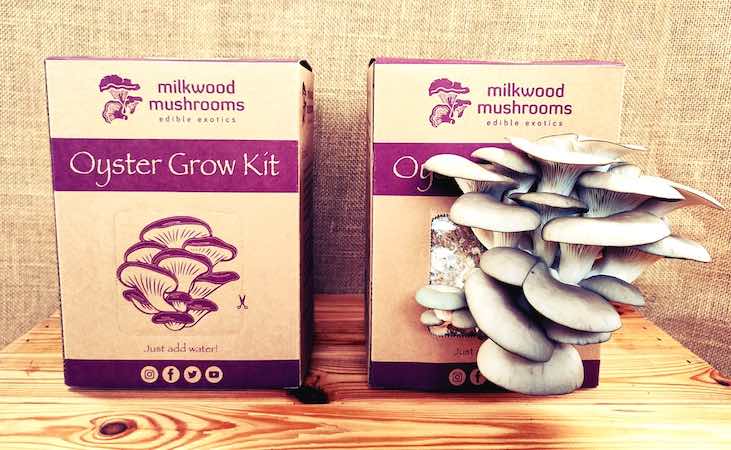
The kits we are supplying (pictured above) contain the winter oyster but we do hope to expand our range next year.
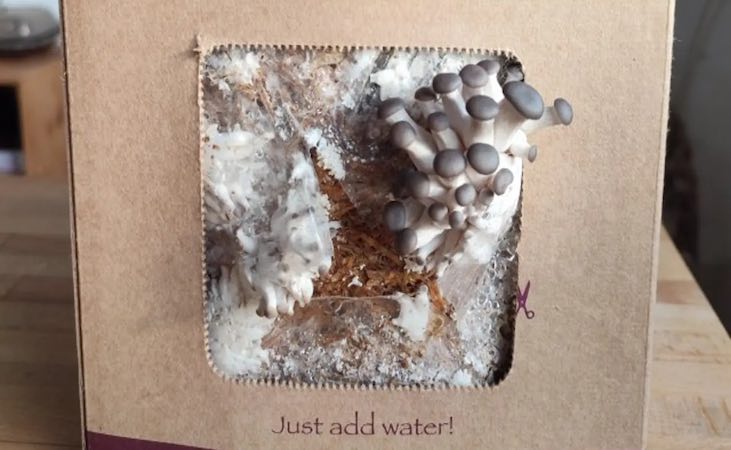
The growing process is very simple. The tab at the front of the cardboard box is removed to give access to the mushroom grow bag inside. The plastic bag is cut with an 'x' shape to expose the growing medium to fresh air and moisture. The opening should be sprayed with a fine mist of water using a spray bottle: 2 quick sprays is sufficient to trigger the mushroom mycelium to produce their fruiting bodies.
The pack should be sprayed twice daily until the mushrooms are ready for harvest, which takes about 14-18 days at room temperature from the time the pack was opened. This first signs of life will be a dimpled area on the mycelium, with each dimple growing into a single mushroom. Once the dimples or 'pins' appear, they will double every two days until harvest time 7 days later.
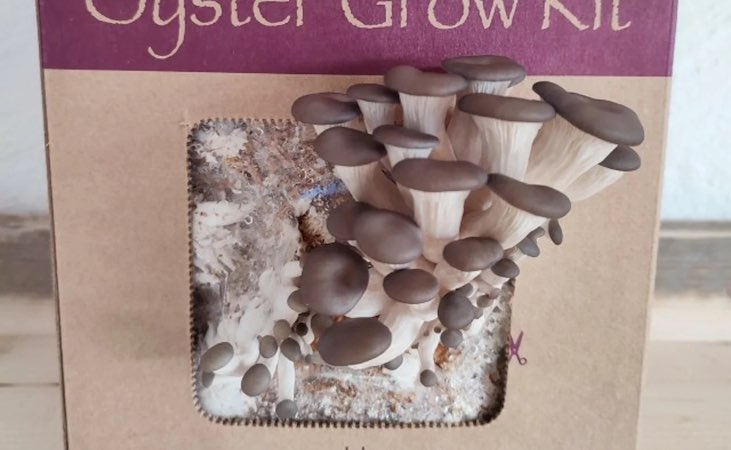
The oyster mushrooms are harvested before the caps fully open. The image above is about half way through the process, while the image further up displaying the two boxes shows mushrooms at 'ready-to-pick' size. To harvest, place your hand around the cluster, twist gently and pull away from the box. The mushrooms can be kept in the fridge for up to 5 days but are at their very best when consumed straight away.
The growing medium will produce a second harvest if re-wetted. You can do this by removing the bag from the box and soaking overnight in a basin of water. The bag is then dried and replaced, and the same misting procedure repeated. A third flush of mushrooms is possible, but they will be much smaller than the first two as the growing medium becomes exhausted. Once spent, the bag can be safely emptied into your compost heap.
If you would like to grow your own flavoursome, vitamin D rich Irish oyster mushrooms, you can do so by clicking the yellow button below.
