How To Prepare Ground For A Polytunnel

Preparing your soil is an important step that shouldn’t be skipped when setting up your first polytunnel. Trying to do intensive digging or soil amendment work can be an awkward task once the polytunnel has already been constructed, so it’s best to get it sorted in advance.
When you’ve decided on where you’re going to place your tunnel, clear any overgrowth and remove any dead material or debris. How much work you need to do preparing the soil further depends on whether you intend to plant in raised beds or directly into the soil itself.
An important question to ask yourself is: what kind of soil are you working with? If you’re already in the gardening habit, you may already have a fair idea of how healthy your soil is and what its drawbacks might be. It can also be a good idea to ask a neighbour about soil quality - if they’re into the old gardening themselves.

Soil Type
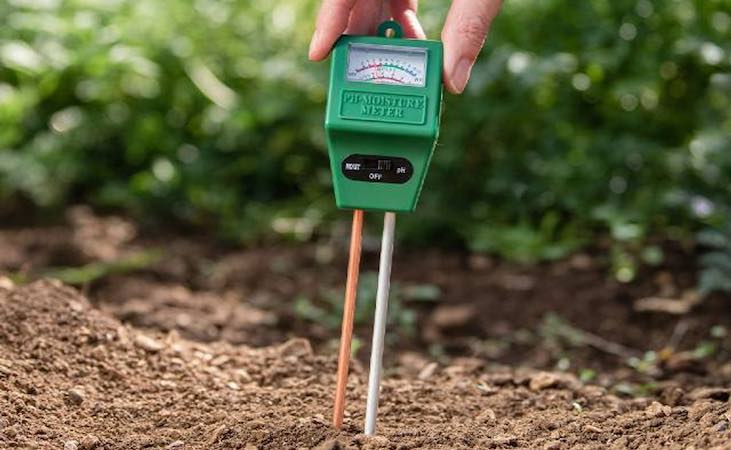
If you’re more of a beginner gardener, there are ways you can test soil quality and characteristics. A ph soil test meter can tell you how acid or alkaline your soil is. In turn, you will have a fair idea of which plants are likely to do well in the soil - or which crops won’t do so well. A ph of around 6.5 is regarded as close to ideal by many gardeners. This is slightly more acidic than neutral, and most plants will grow well in this kind of soil. Lower numbers indicate that the soil is more acidic, while higher numbers than 7 (neutral) mean that the soil is alkaline. If desired, you can decrease the acidity of the soil by adding lime, baking soda, wood ash or ground eggshells. Overly alkaline soil is a little harder to deal with, but well-rotted manure or compost and slow-release sulphur chips can be used to bring ph levels down.
View the Plantpak Digital pH Meter
If the soil in the polytunnel area is dry, it’s time to reach for your shovel. (Note: the following advice also applies if you already have a polytunnel and the ground has gone dry from inactivity over the winter months). Many of the crops commonly grown in polytunnels - such as tomatoes, cucumbers or courgettes - are demanding ones, and will need a fertile soil that can retain moisture well. What you should do to start restoring the health of the soil is to dig some large holes in the soil. Space them out evenly - so that if you have an 8-metre polytunnel you should have 5 or 6 holes. You then fill these holes with water so that they act as a kind of temporary reservoir. The water will seep into and saturate the surrounding soil. You should keep filling the hole until it holds the water without it draining away - then you can rest and let nature take its course!

Manure and Fertiliser
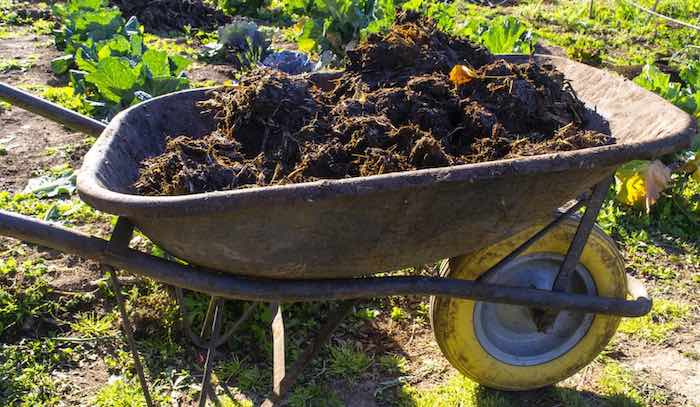
The next step is to add some nutrients to the soil. One of the best ways to do this is with well-rotted farmyard manure. It will enrich the soil with microbes and improve its structure and nutrient/moisture retention. It’s important to give the manure time to break down fully: it’s strong stuff when raw, and the higher levels of nitrogen or ammonia can harm plant roots or lead to nitrate leaching. It can take six months or so for manure to fully decompose. As an alternative you can use a commercially-bought product like Gee Up Horse Manure, which adds a range of nutrients and humus to the soil. Seafeed pellet fertiliser is also a highly recommended addition to the soil, containing lots of valuable micronutrients and trace minerals.
View Gee Up Horse Manure Organically Certified 12kg bags
How much of these materials you add can depend on what you’re intending to plant in the polytunnel and the nutrient needs of those crops. As mentioned above, a fair few of the more popular polytunnel crops will benefit from a soil with plenty of fertilisation. Examples of less demanding plants include radishes, turnips and beans. As a general guideline, use about half a bucket of Gee Up manure per square metre, while using Seafeed more directly by applying it around the planting hole of more demanding plants such as tomatoes, courgettes or squash.
View Seafeed Natural Seaweed Extract & Poultry Manure Fertilizer

Raised Beds
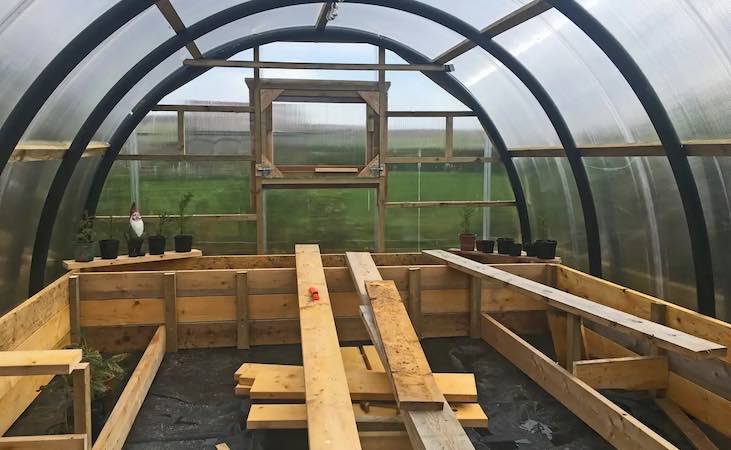
Raised beds are popular with polytunnel gardeners for a number of reasons. They add a certain neatness and symmetry to the inside of the tunnel while allowing you to tend to crops at a more comfortable height. They’re a crucial addition if you have shallow or poor quality soil, as it will become much easier to optimise soil and growing conditions within the beds themselves. Tending to crops in raised beds means that there’s less chance that you’ll need to walk or tread on the soil, thus causing soil compaction (not good for plants!) The neat aesthetic of raised beds also lends itself quite well to companion planting, maybe even encouraging it.
View Premier '14' - FSC Timber Raised Garden Beds
It’s best to plan where you’re going to place raised beds in the polytunnel and prepare the area before you assemble the structure - or certainly before you put the polythene cover on. Allow space for a central pathway (it’s a good idea for it to be spacious enough for a wheelbarrow, but in smaller polytunnels you might have to make compromises on space). Ideally the raised beds should be accessible enough that you can reach the middle of the bed from either side. The more comfortable you are when tending to your crops, the more you will enjoy time spent in the polytunnel and the more your plants will benefit!


