How to Grow Broccoli (Calabrese)
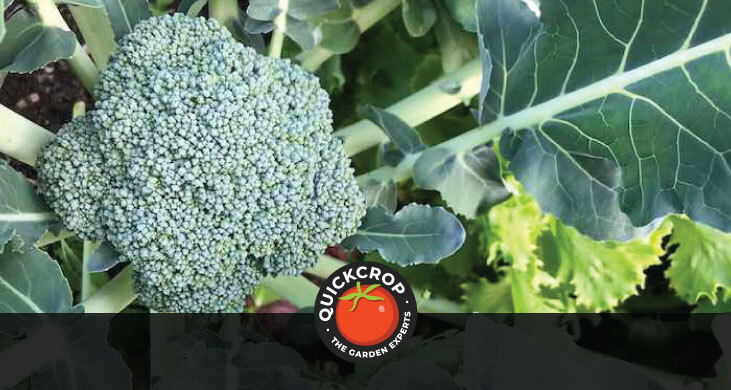
When most people hear the word 'broccoli' this is the crop that they will see in their mind's eye. The large green heads, made up of tightly packed florets, are popular with beginner gardeners and veteran growers alike.
The flavour and crunch of a freshly picked calabrese head is vastly superior to the stuff in the shops, so it's well worth growing. It is also a forgiving crop to grow, tolerant of cooler temperatures and even light frosts.
Broccoli or Calabrese?
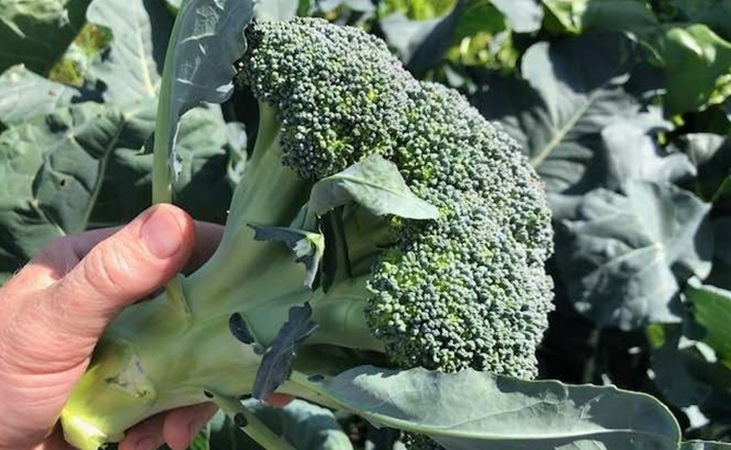
The supermarkets have helped to confuse the issue of what is broccoli and what is calabrese by calling both by either name. The large green head you see in the photo (generally referred to as broccoli) is actually calabrese, whereas the much smaller heads which grow in clusters (and can be green, purple or white) are more accurately defined as broccoli.
The flavour of calabrese is milder and much preferred by many to sprouting broccoli; it is also an easier crop to grow.
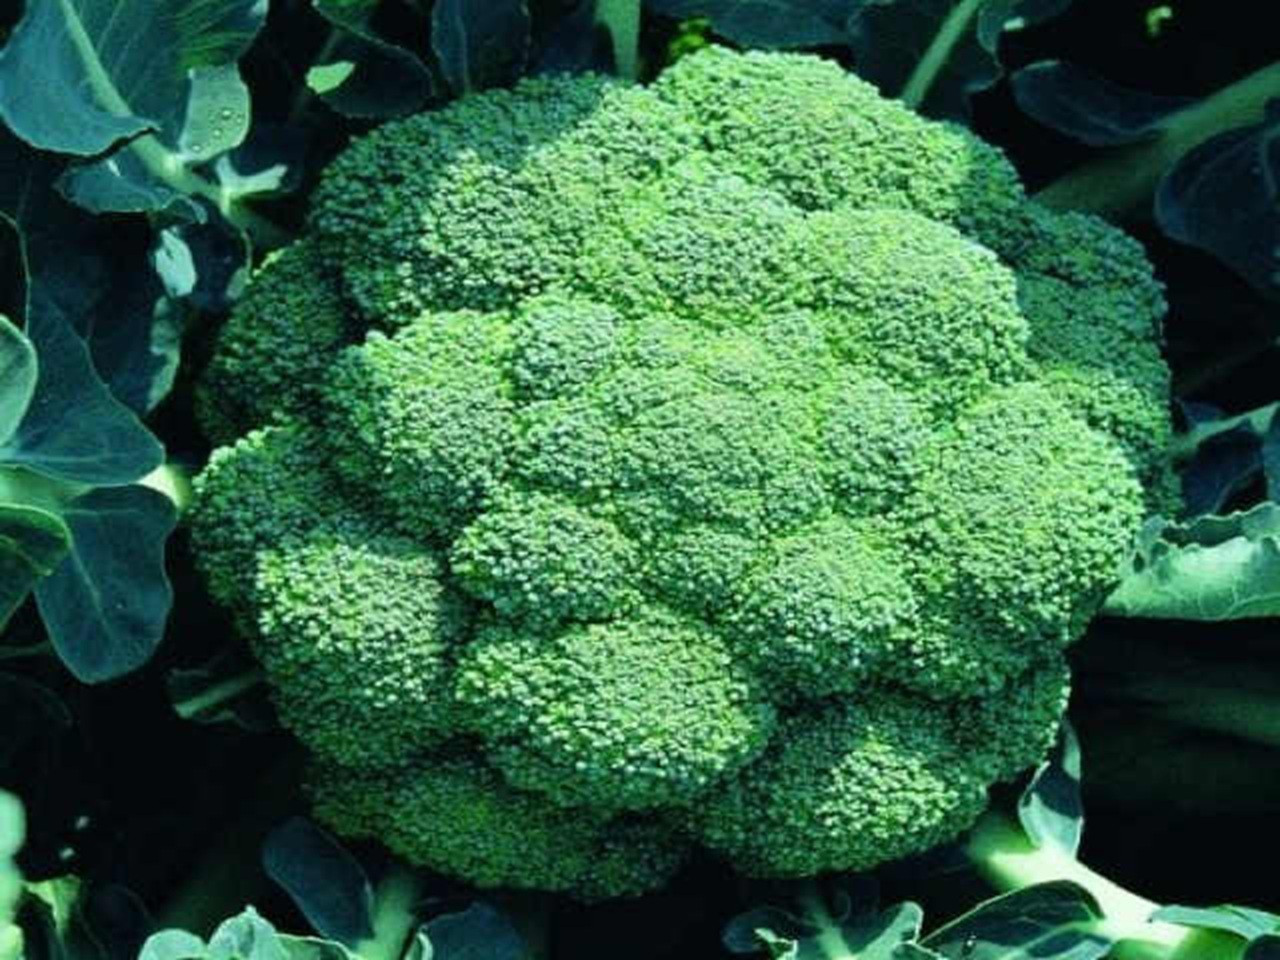
Calabrese 'Marathon F1'
View ProductSite & Soil
Calabrese requires an open, unshaded site and a free-draining (but moisture-retentive) soil with plenty of organic matter. Nitrogen requirements are high, so an addition of farmyard manure the previous autumn is ideal.
When to Sow Calabrese
Sow from late March to early June. For a continual crop of tasty heads, sow a few plants in late March, early May and then again in early June.
Calabrese can also be sown in the polytunnel in autumn: if it's a warm autumn (and they are getting warmer) you should get decent-sized heads. Planting seedlings rather than sowing seeds can give you a headstart.
Sowing Calabrese in Modular Trays: Step by Step
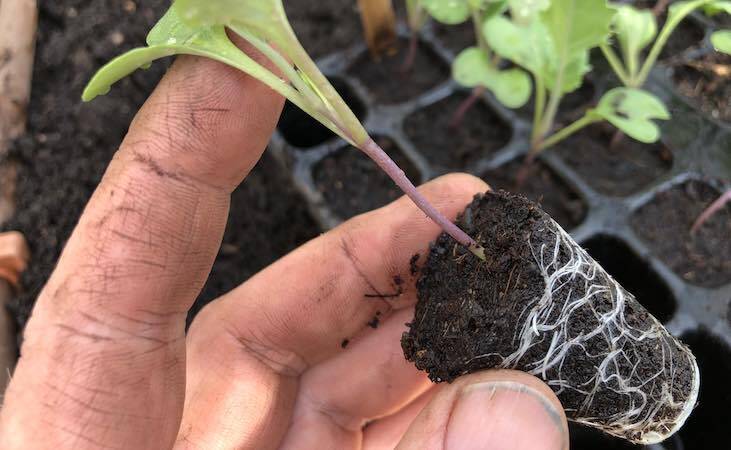
Like most brassicas, calabrese is best sown in a modular seedling tray - as the plants don't like root disturbance.
- Fill the seed tray with compost and brush off any excess.
- When filling the tray, rub the compost through your hands to break up any lumps.
- Give the tray a sharp bang on your table to settle compost.
- With your fingers make small depressions in each cell about a fingernail or 1.5cm deep.
- Sow 1 or 2 seeds per module.
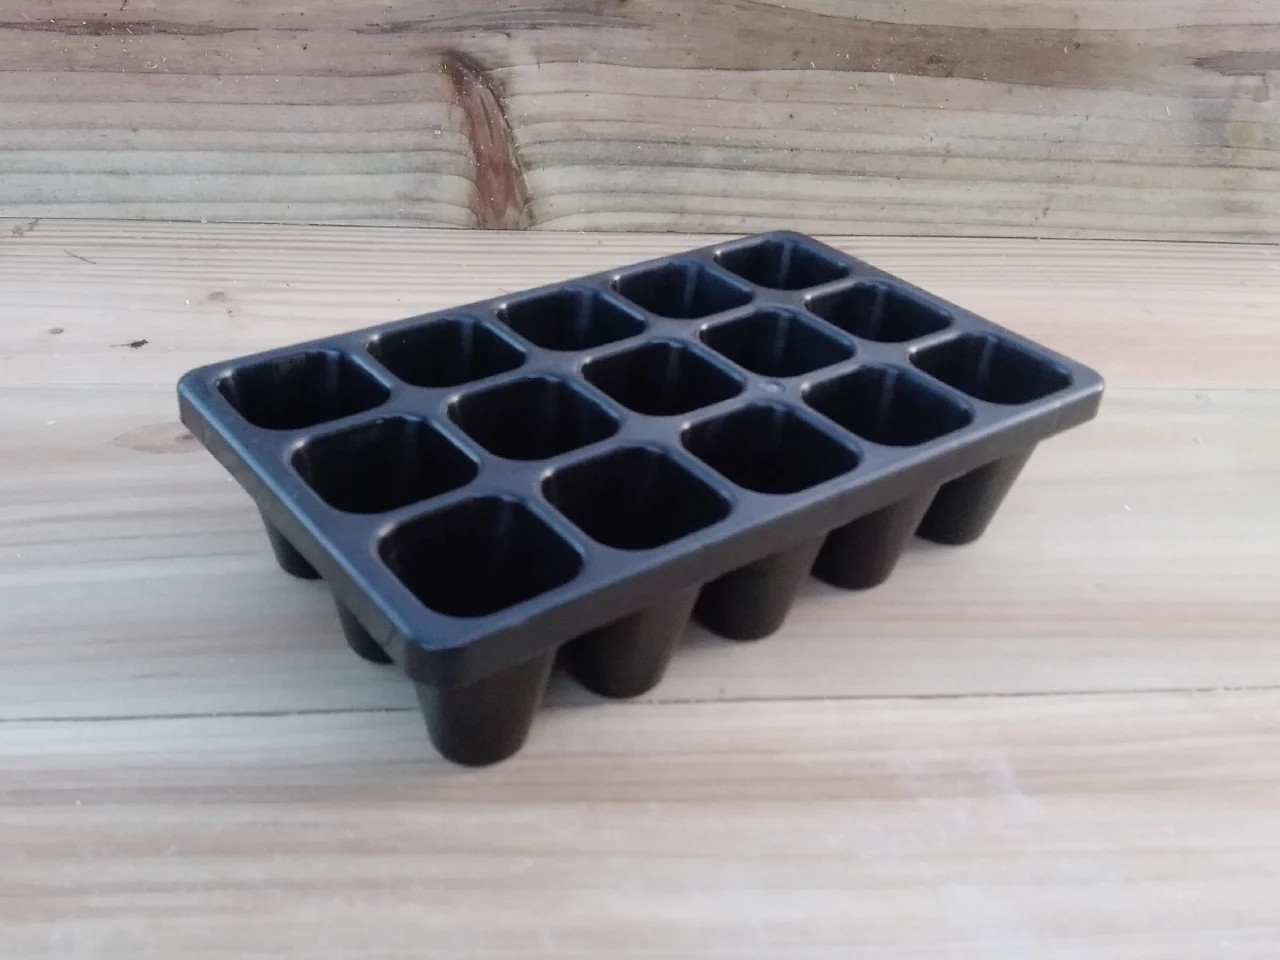
Charles Dowding 15 Cell Plant Tray
View Product- Cover the seeds with another layer of compost, then scrape across the top of the tray with a stick to remove excess.
- Gently water your seeds.
- A good tip is to use a plastic bottle with small holes punched in the cap. This is less likely to wash the seed around than the heavy spray from a watering can.
- Place your trays in your greenhouse, polytunnel, cold frame or windowsill to germinate.
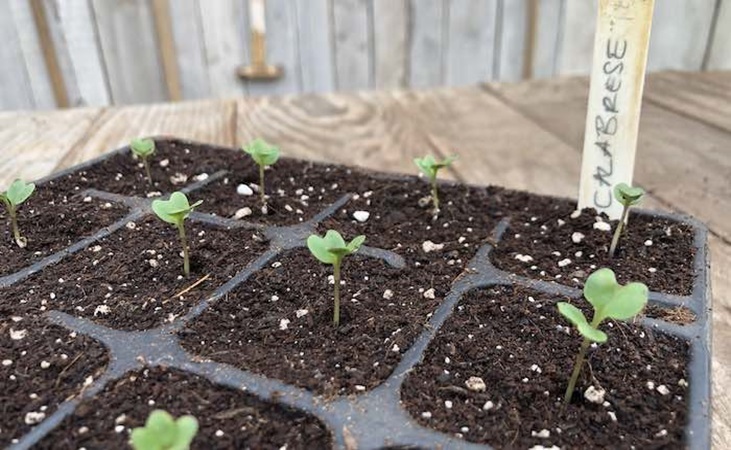
- They should be ready to plant out in about 4 weeks.
- If 2 seeds germinate within one module, you will have to remove the weaker seedling.
- Don't pull the seedling out as you'll damage the roots of the one you want to keep. Nip the unlucky one with your fingernail or cut with a scissors.
Preventing Leggy Seedlings
When growing seedlings indoors be careful that they don't get leggy, i.e. long spindly plants. Seedlings become 'leggy' when they get too much heat and not enough light. If you are starting them off on a windowsill make sure they get as much daylight as possible.
You can create a makeshift light box by placing a sheet of reflective tinfoil on the room side of the seedlng tray. This will reflect daylight onto the darker side of the plant. If the plants are on a heat bench or in a propagator and they are looking spindly, turn the heat down and try to give them as much light as possible.

Bio Green Digital Thermostat - Thermo 2
View ProductWatering Calabrese Seedlings
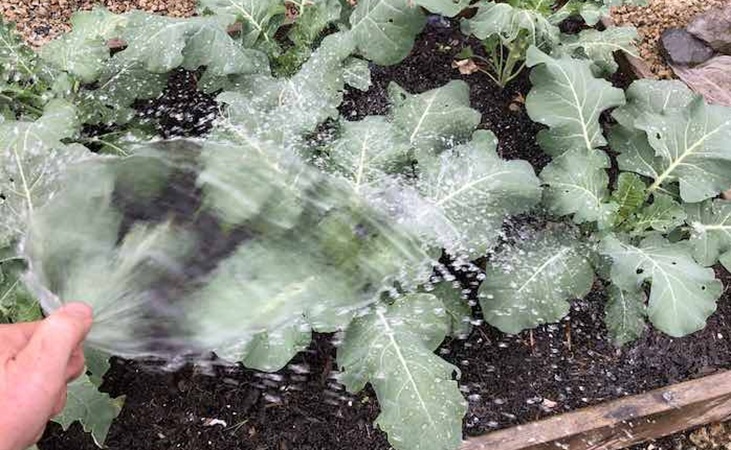
It's important to keep your seedlings properly watered before you plant them out in the garden. You are actually far better to under rather than overwater your plants. This may sound odd, but making the roots search for water helps to develop a better root system. It's a bit like keeping fit.
However you do need to be careful not to let the compost plug completely dry out, or it will form a crust on top and won't absorb the moisture the next time you water. It will all depend on the weather of course, but on a hot day you will need to water twice a day; if it's it's dull every 2 days will be fine.
Calabrese: Hardening Off and Planting Out
Plants that have been raised indoors will need to get used to the outdoor temperature and conditions before they can be planted outside. This will take about a week to 10 days depending on the weather. The best way is to use a cloche or mini-greenhouse.
You can leave the cloche off the plants on dry frost-free days and replace at night. Gradually increase the time with the cloche removed until the end of the week, when you can then leave it off day and night.

Vegtrug Nursery Greenhouse
View ProductIf the weather is mild you may not need the cloche: just move the plants outside for longer periods each day. If you have started your seeds on a windowsill you will need to leave them in an unheated room for a day or two before moving outside to the cloche.
Calabrese: Outdoor Spacing and Planting
- Spacing determines the size of the head produced by your Calabrese. A wide spacing of 45cm in rows 60cm apart will produce very large heads to impress your neighbours, while the more common spacing for medium sized heads is 40cm between plants in rows 40cm apart.
- To plant your seedling, make a hole in the soil the approximate size of the seedling 'plug'. You need to push the soil in around the roots firmly with your fingers to get good contact with the soil. Don't firm down on the top of the soil, as this can compact it and prevent moisture getting down to the plant's roots.
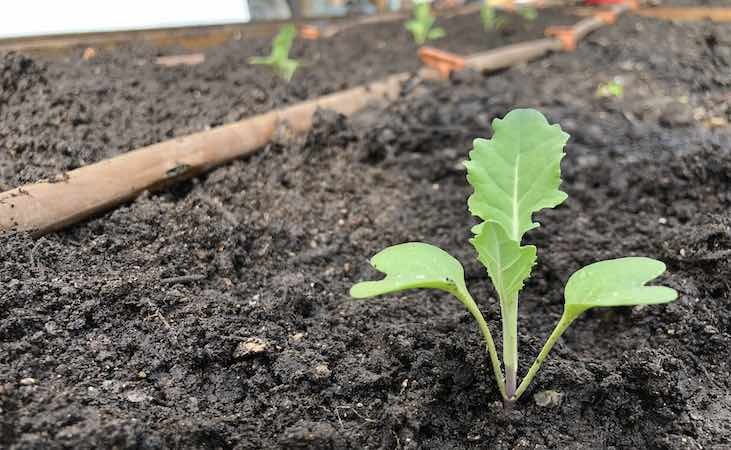
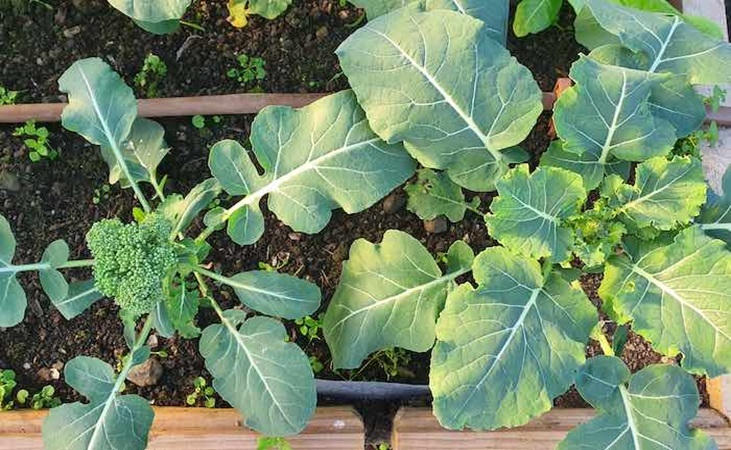
- Seedling plants can be planted up to the base of the first set of true leaves if the stem has gotten a little leggy from lack of light at the seedling stage (The true leaves are the second set of leaves produced after the initial rounded seed leaves).
- Water the plants after planting, but do not soak them. You are better to transplant on a dull day or in the evening to prevent the plants wilting on a hot, dry day.
- A light sprinkle of seaweed/poultry manure around the planting hole will help your Calabrese get off to a good start.

Seafeed Natural Seaweed Extract & Poultry Manure Fertilizer
View ProductCalabrese Crop Care
Calabrese can suffer from all the usual brassica diseases. The most likely issues you may encounter are as follows:
Cabbage Root Fly
Recent transplants are most vulnerable to cabbage root fly larvae, and can die if the infestation is severe. Adult flies resemble small grey houseflies.
How to Identify: Look out for blue-tinged leaves which wilt in sunny weather. When plants are lifted you will find small white maggots around the roots.
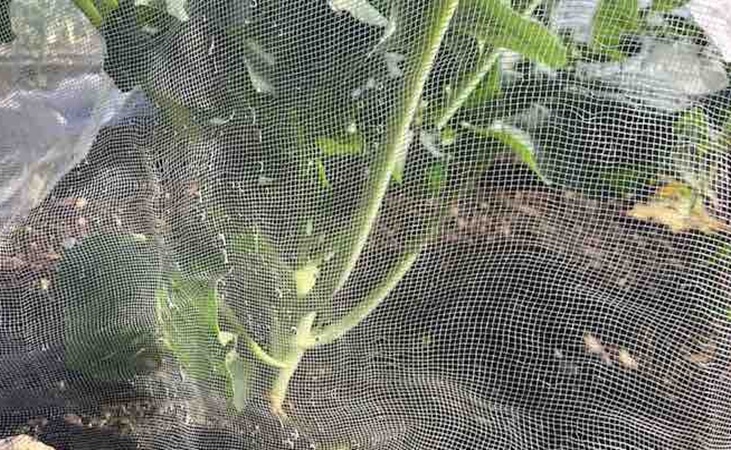
Prevention: Use cabbage collars fixed around the plant stems, or cover the crop with protective mesh or fleece.
Cabbage Caterpillars
Cabbage caterpillars are active between May and October and lay clusters of yellow eggs under the leaves. When the eggs hatch the caterpillars will start tucking into your plants, leaving large holes behind.
How to Identify: As above, you will see clusters of small yellow eggs. If you see white butterflies hovering around plants, this can also be a sign that you should inspect the plant.
Prevention: Check the underside of the leaves periodically and brush off any eggs. To prevent butterflies laying eggs altogether, protect the plants with a fine insect mesh.

Insect Mesh Netting - 3.6 m x 3 m
View ProductLeatherjackets & Cutworms
Leatherjackets and Cutworms are a similar grey/brown colour and live below the surface of the soil, from where they emerge at night. Stems are severed at ground level, resulting in the death of seedling plants.
How to Identify: If you find one severed stem, search the soil in the vicinity and you are likely to find the culprit.
Prevention: For control use a nematode-based natural insecticide.
Harvesting Calabrese
With most varieties of Calabrese you get two crops from a single plant. Initially a central dome will form; after this is harvested the plant will produce numerous smaller side shoots.
The main problem with harvesting Calabrese is premature flowering. Check the plants at least twice a week coming up to harvest, as the tight green buds will quickly open into yellow flowers - this can really ruin the flavour and texture. Flowering is more likely in hot, dry weather.
Calabrese is best steamed rather than boiled, as it will retain its flavour and texture better. Small spears can also be stir-fried. The thicker stalks are great for making soups like Broccoli & Stilton Soup.
Health Benefits of Broccoli & Calabrese
There have been a number of studies that suggest broccoli can help protect you from cancer. Broccoli contains a chemical called sulphoraphane which helps neutralise cancer-causing substances found in the gut and can help against colon cancer - one of the biggest cancer killers in the UK

Calabrese 'Belstar F1'
View ProductBroccoli also contains a compound called I3C that helps boost production of BRCA proteins. These are helpful against some forms of cancer including breast, ovarian and prostrate cancers.


