How To Grow Garlic

Growing garlic is both easy and satisfying: it's well-suited to both the first time gardener and the more experienced. A haul of freshly harvested garlic is a beautiful thing, especially when the outer papery sheath is removed to reveal a pristine white or pink ribbed bulb on the inside. Given the correct soil and planting time, common garlic is relatively maintenance free, although some of the more unusual varieties can provide a challenge.
Some advantages of growing garlic:
- The cloves are quickly planted.
- They are not too demanding in terms of nutrients.
- They suffer from very few pests and diseases.

Primor Garlic Bulbs
View ProductGarlic has been used by humans for thousands of years, with evidence found in caves inhabited more than 10,000 years ago. Medicinal prescriptions were found chiseled into a clay Sumerian tablet that was more than 3,000 years old.
Apart from the flavour when cooked (and there definitely is a difference), a plait of homegrown garlic cloves hanging in the kitchen also gives a visual reminder of a job well done every time you pass. Garlic is your friend with (health) benefits so definitely deserves a place in your garden.

Where To Grow Garlic
Grow your garlic in full sun: garlic needs to grow quickly in order to produce good sized bulbs. Pick a site that is not prone to water-logging, as this will ensure the bulbs do not rot over winter.
Garlic is very well suited to growing in raised beds, as the higher yielding overwintering varieties won't suffer from waterlogging in a wet Winter.
When to Sow Garlic
The other good thing about garlic is that it gives us gardeners something to do in the Autumn. You can plant garlic cloves from September through to late February, but Autumn planting is generally preferable as it gives an earlier harvest of larger bulbs.

French Sabadrome Garlic Bulbs
View ProductAutumn planted garlic will also be exposed to cold for longer; this is a good thing as a couple of nights of freezing temperatures are needed for the single clove that you plant to form a multi-cloved new bulb. If garlic doesn't get this period of cold, it will form one single large round clove known as 'solo garlic'. It still tastes great and looks pretty cool, but is not what we are after here.
Choosing garlic cloves
Before you plant garlic it's important to select the best bulbs. It is far better to buy guaranteed virus and eelworm free bulbs than to use shop bought garlic. Supermarket garlic can potentially carry disease into your garden.
In the following years you can use the cloves from the garlic you grow (as long as they appear to be strong and healthy).

Softneck or Hardneck Garlic
Softneck Garlic
The vast majority of shop bought garlic will be what is known as a softneck variety. Softnecks are generally grown in warmer climates (80% of the World's garlic is grown in China), but there are plenty that are well suited to Northern European gardens. Softneck varieties give larger bulbs than hardnecks and give an earlier harvest (by 2-3 weeks) if they are planted at the same time as each other. From a softneck seed garlic bulb, you would expect to get 8-10 good sized cloves for planting. There will be more smaller cloves in the centre of the bulb, but the larger cloves produce the largest bulbs, and thus are better used in the kitchen. In terms of variety, you will have a much wider range of options than you would with hardneck garlic.

Hardneck Garlic
Hardneck garlic will produce slightly smaller bulbs than softnecks, but they tend to have a stronger, more pronounced garlic flavour. As hardnecks are very rarely found in the shops, they are well worth growing for one of those rare treats only available to the home grower.
You can easily tell the two apart as the hardneck produces a stiff, central stalk on the middle of the bulb with the cloves arranged around it; you can see the butt of this stalk in the picture of the garlic bulb further up the page. The central stalk or scape (pictured above) will eventually form a flower, but if it's cut at the immature stage it can be used as a delicious garlic green in June before the bulbs themselves mature. Preventing the garlic from flowering by cutting and removing the scapes will also result in bigger bulbs, as energy will not be used to grow the flower and produce seed.

You would expect to get 6-8 cloves for planting from a hardneck variety, with most of them being large as the stem replaces the central cluster of cloves found in a softneck. You will also find that hardnecks don't store quite as long: they will keep for 8-9 months rather than 11 for softneck varieties. Then again the flavour is so good that they will be used long before then.
Planting Garlic
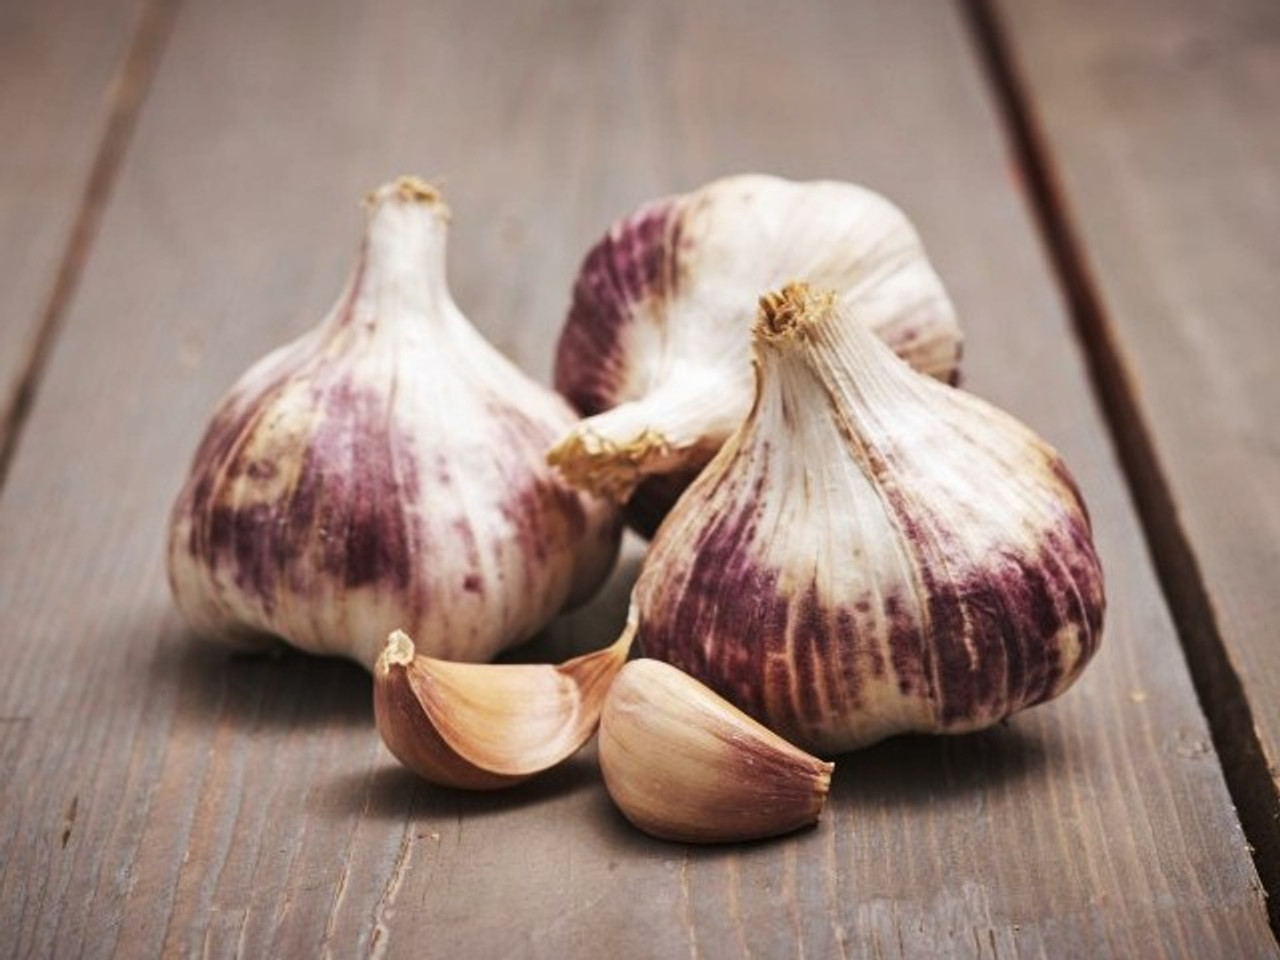
Not all of the cloves in a garlic bulb are suitable for planting. Only select the fatter outside cloves rather than the thinner ones towards the centre of the bulb. Of the outside cloves, make sure they are firm, plump and free of any mould or dark patches. Don't separate the cloves from the bulb until you are ready to plant, as they will become soft and prone to disease.

Each bulb will consist of up to 20 individual cloves, and it is these cloves which are to be individually planted. Gently remove the outer skin from the bulb (not the cloves) and separate into individual cloves. Select the largest eight or so of the cloves which will be on the outside of the bulb.
As we've said, garlic cloves planted in September or early October will produce the largest bulbs. In my opinion, the only reason you wouldn't plant is if you have a wet plot prone to waterlogging in winter. The issue here is that the cloves may rot in the wet soil. If this is a problem in your garden, it should be sorted by building raised beds - but that is another day's conversation.

If this is the case, a good cheat is to sow garlic in modules so that they can root and grow over winter - and then plant them out in spring. I often do this anyway and leave the trays in the tunnel, as it can bring forward the harvest time by about 3 weeks.
You can also plant garlic directly in the polytunnel beds, which will give earlier harvests (and often larger finished bulbs). I used to worry that the warmer temperatures in the tunnel would result in solo garlic, but I have been doing it for years now and never had a problem.

Garlic can be either planted in a drill (as above) or in individual holes made by a dibber. Either way, the planting depth is 3-4 cm deep with the pointy end facing up. The distance for useable size bulbs is 10cm between cloves and rows, but if you would like larger garlic you can increase the row spacing to 25cm.
Germidour Seed Purple Garlic
View ProductGarlic is not overly demanding as regards nutrients, but like all vegetables they do need a fertile soil. The best option is to have spread garden compost earlier in the year, but you can still add compost now if you are starting with less than optimal soil. The easiest method is to plant a little shallower, and spead 2-3 cm of compost on top to cover the cloves. If you don't have access to compost, you could rake in blood fish and bone natural fertiliser at a rate of 150g per square metre 2 weeks before planting. For Autumn sown garlic it's a good idea to mulch the bed with leaves or straw to protect from severe frost.

Westland Fish, Blood & Bone Meal
View ProductPlanting garlic in modules
It's common practice for garlic to be planted directly in the soil outside from October to mid February. In the last few years, however, I have also got into the habit of starting it in trays in the polytunnel as it gives me slightly bigger bulbs. The reason is that the garlic cloves I plant in the relative warmth of the tunnel will root and produce shoots quicker than those planted outside.
The earlier you can plant outdoor garlic, the better (for large bulbs): so this method is also useful if you missed the October planting window as it allows you to catch up. I also feel module-planted garlic has an advantage in the increasingly common cold spring weather, as outdoor bulbs can be slow to resume growth if soil temperatures remain low.

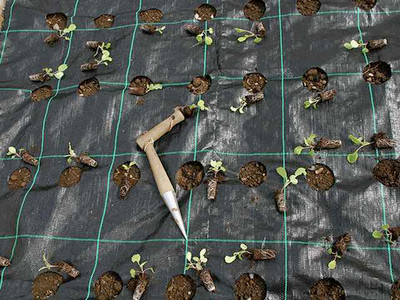
I use a 6 cell tray which has a module size of approx 7cm wide and deep to give enough room for root growth over winter. I use any old compost, even old scrapings from the bench because nutrient levels aren't really important as most of the growth comes from stored energy in the garlic clove.
I show the trays on a heat bench in the image but heat isn't necessary (the bench isn't turned on, I was just putting them somewhere out of the way for the time being). The best place is to arrange trays on an old shipping pallet or other rack off the ground to prevent roots growing into the sand or polytunnel soil.

The only thing you need to be careful of is the garlic becoming pot bound which will likely happen if they are left in the tunnel until planting time in march. It is best to take the trays outside in late January which will slow them down and give them the period of cold weather they need for the planted clove to form a garlic bulb.
As regards the required period of cold (garlic needs a period of 6-8 weeks at temperatures below 10˚C), I also have great success with garlic directly planted in the polytunnel so we can assume it is cold enough under cover in January and early February for bulbs to form (I always wondered about this before I tried it).
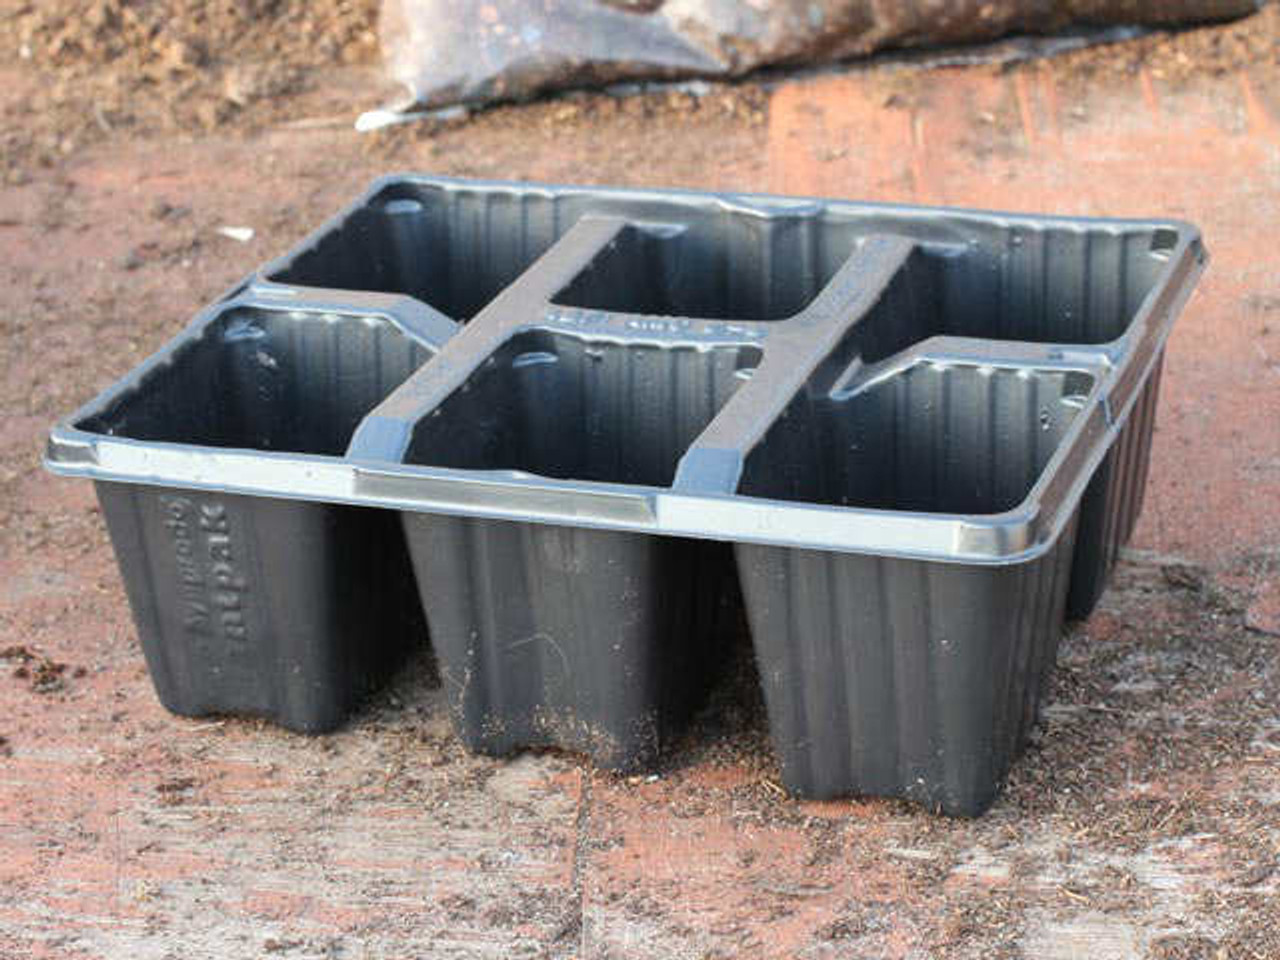
6 Cell Seedling Plant Tray - 6 per pack
View ProductGrowing Garlic in Pots
Growing garlic in containers is perfect for gardeners with limited space on a patio or balcony. The pot you use will need to be at least 8 inches in diameter and depth to allow for good root growth. You can use a good multipurpose compost mixed with an organic fertilizer which is high in potash.
Garlic bulbs should be split into cloves as above and planted at a depth of 2.5cm and 10cm apart. Ensure the compost mix is kept moist and not allowed to dry out in dry spells. I like to use a length of plastic pipe to ensure water gets to roots properly as containers can be prone to dying out from below.
Pots should be left outside as growing garlic indoors is not recommended and rarely produces good quality garlic bulbs.
Care of Garlic

Early plant care
There really is very little to do other than to keep an eye out for weeds in Autumn: once winter sets in they won't be a problem. If planted in September you should see new shoots by October, but they can sometimes be delayed depending on the weather. Unless you have very wet soil (as covered above), the lack of shoots should not be cause for concern. The cloves produce roots before leaves, and will still be working away under ground.

Gro Grid Garlic Mats
If you want almost completely trouble-free garlic growing, you could also use one of our garlic growing mats to prevent any weeds growing up through your crop next season. Our Gro Grid mats are made by us here at Quickcrop HQ from woven groundcover fabric, and are heat-sealed to prevent fraying. The fabric is UV stabilised and will last for years. I have been using my own set of mats for over 10 years now, and they are still as good as they were on their first season.

Gro Grid Planting Mat 'B' for Leeks, Beetroot, Garlic, Salads etc
View ProductGarlic Top Sets
In some years you may notice little garlic cloves growing on the stem of softneck garlic - either just above the main bulb or further up the stem.
These are known as top sets or 'bulbils' and are more commonly produced in adverse growing conditions, particularly where spring temperatures fluctuate between mild and very cold. You may also see a higher instance of top sets in poorer soil, when the plant is struggling.

Harvesting Garlic
Garlic is normally ready for harvesting when most of the foliage has turned yellowy-brown: this will be around mid August time. It's important to dig the cloves before the foliage falls over, as otherwise the cloves will open up and rot in the ground. The problem with harvesting garlic is knowing when they are ripe. Harvest too early and the bulbs will be small. Harvest too late and the bulb will have split, making harvest difficult and the cloves low quality (they will have commenced their growing cycle for next year).

Problems tend to occur mainly in wet summers. The leaves may only have started to turn yellow, but if the garlic is left in wet ground at this stage the bulbs will very quickly become diseased. For this reason a second method is needed to determine what stage they have reached. If the weather is wet in early August, pull up one bulb and see how many sheaths (very thin papery layers around the bulb) you can peel off the bulb. If there are only three, harvest the bulbs; if there are four or more, wait another two weeks or until most of the leaves have turned brown.
When harvesting garlic bulbs, gently ease them out of the ground with the assistance of a trowel to loosen the surrounding soil. Be careful not to bruise them with the trowel because they will then not keep for long. Remove any excess soil from the bulbs, but do not remove the foliage.

French Therador Garlic Bulbs
View ProductGarlic should be dried in the sun for 3 - 4 weeks if possible. If you live anywhere like me, you can hang it in an airy open shed.
Storing Garlic
Once your garlic is dry it can be tied into bunches for storage. The longer the foliage stays on the plant, the longer the storage life. Give the bulbs a clean by wiping them with a very slightly damp cloth. Discard any bulbs with small cloves or any that are split open.
Braiding Garlic
Select your 3 largest garlic bulbs with good long strips of foliage. Take the stems from the left and right and cross them over the one in the center.
Take the stem on the bottom and bend it over the stem in the middle. Add another garlic bulb and repeat the process.