What Is The Best Position For A Polytunnel?
Where you position your polytunnel will ultimately depend on the space you have available, but there are some important factors to take into account. Good positioning will increase your chances of growing crops successfully, as well as ensure the polytunnel’s durability.
Sunlight
The most important thing of all is to construct the polytunnel in an area where it will see plenty of sunlight. One of the great advantages of a polytunnel is that it extends the growing season for gardeners, but it can only do so if it’s positioned to make the most of the available sunlight at any time of year. Morning sun can be particularly important, so observe your garden and outdoor area before making a decision on where to place your tunnel.

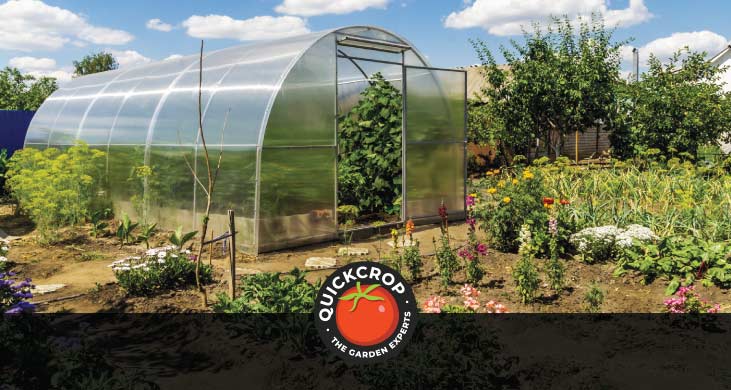
Allotment Polytunnel (2.4m Wide)
View ProductOrientation
Many experienced gardeners - including the ‘no dig’ guru Charles Dowding - recommend positioning the polytunnel along a North-South axis. This means that the front end faces north and the back end faces south. With this position, both sides of the polytunnel will receive equal amounts of light.
By comparison, if the polytunnel is placed along an East-West axis one side will end up being more shaded than the other. Some gardeners are happy to work around this (e.g. by growing plants that benefit from a shaded environment on the shaded side). An East-West positioned polytunnel can also be at risk of overheating in the summer months, when the sun is hitting the length of the polytunnel head-on.
Shelter
Another important thing to consider when positioning your polytunnel is that it has some measure of protection from strong winds and adverse weather. A hedge or hedgerow makes for an ideal natural barrier. There is a balance to strike here as well though: if the hedge is too tall and dense it can interfere with the amount of sunlight the polytunnel receives.
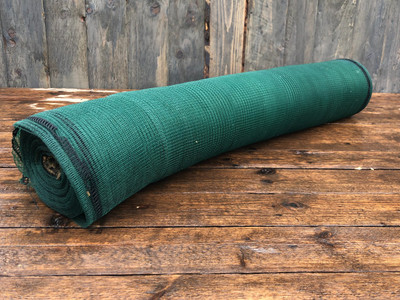
Trees can also provide shelter, but don’t construct a polytunnel too close to a tree: there’s a potential for damage in high winds, and the tree roots will be competing for nutrients in the soil. If your garden or outdoor area is lacking in natural barriers, windbreak netting is a suitable alternative (or even an additional measure).

25 x Common Beech Bare Root Hedging Plants - (Fagus Sylvatica)
View ProductSlopes
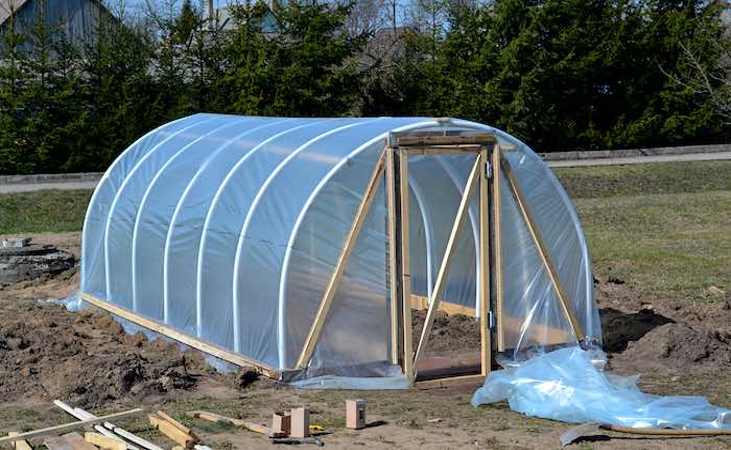
Ideally a polytunnel would be constructed on level ground. However, it is perfectly possible to place it on a slope (provided that the slope is not too severe). In this scenario, it’s best to construct the polytunnel vertically along the slope rather than placing it perpendicular, or cutting across. When it’s ‘along the slope’, if you stand in the entranceway you will be looking directly up the slope.
If attempting to place the tunnel at a perpendicular angle, it will probably be necessary to insert foundation tubes at different depths (deeper into the soil near the top of the slope, and protruding out a bit further than normal nearer the bottom). When the tunnel is situated this way, beds can be harder to water and mulch.

Large Garden Polytunnel (5.5m Wide)
View ProductAccessibility/Irrigation
You’re going to be spending a lot of time in your polytunnel, so for the sake of convenience it’s a good idea to place it close to a water source. Plants will need plenty of irrigation, so having a hose connection nearby will save you a lot of time and possible frustration.
It’s also worth keeping in mind the space you’re leaving around the polytunnel, particularly around the entranceways. You should aim to have 3 feet clearance on all sides. As with most of this advice though: do what you can with the space that you have.