
How To Clean and Maintain Your Polytunnel

Cleaning: not the best fun in the world, but it has to be done. Fortunately a polytunnel doesn’t have to be cleaned too often. Once a year is generally sufficient, and the best time of year to do so is probably right before the main growing season. Cleaning your polytunnel will reduce the chances of disease or pests gaining a foothold in your vegetable beds. It also ensures that the polythene stays in good condition and continues to let plenty of light in, while also just keeping the whole structure looking good.
How To Clean Algae And Dirt Off Your Polytunnel
When you’ve used your polytunnel for a few months to a year, you will eventually become familiar with algae. Algae is a hard thing to define in simple English if my research is anything to go by, algae is basically a material (usually green in colour) that you will see slowly building up on the polythene cover of your polytunnel. In particular, a mix of sunlight and dampness can cause algae to grow, so it’s not surprising that it tends to be seen on polytunnel covers.

It’s important to clean away any layers of algae or dirt, as over time they can start to reduce the amount of light that comes through the polythene and into the inner polytunnel. Cleaning is a pretty simple process once you have a few tools to hand (and ideally a friend to help you). Aim to start the job early in the day so that the polytunnel has plenty of time to dry off.
One product that we (and many other gardeners) highly recommend for the task is Citrox, a citrus-based garden disinfectant. Citrox is safe for use around children, pets and wildlife - and your plants, which you can leave in the polytunnel even as you’re cleaning. As well as polytunnels, it can be used to clean greenhouses, cold frames, raised bed covers and seedling trays, so it’s a true all-rounder.
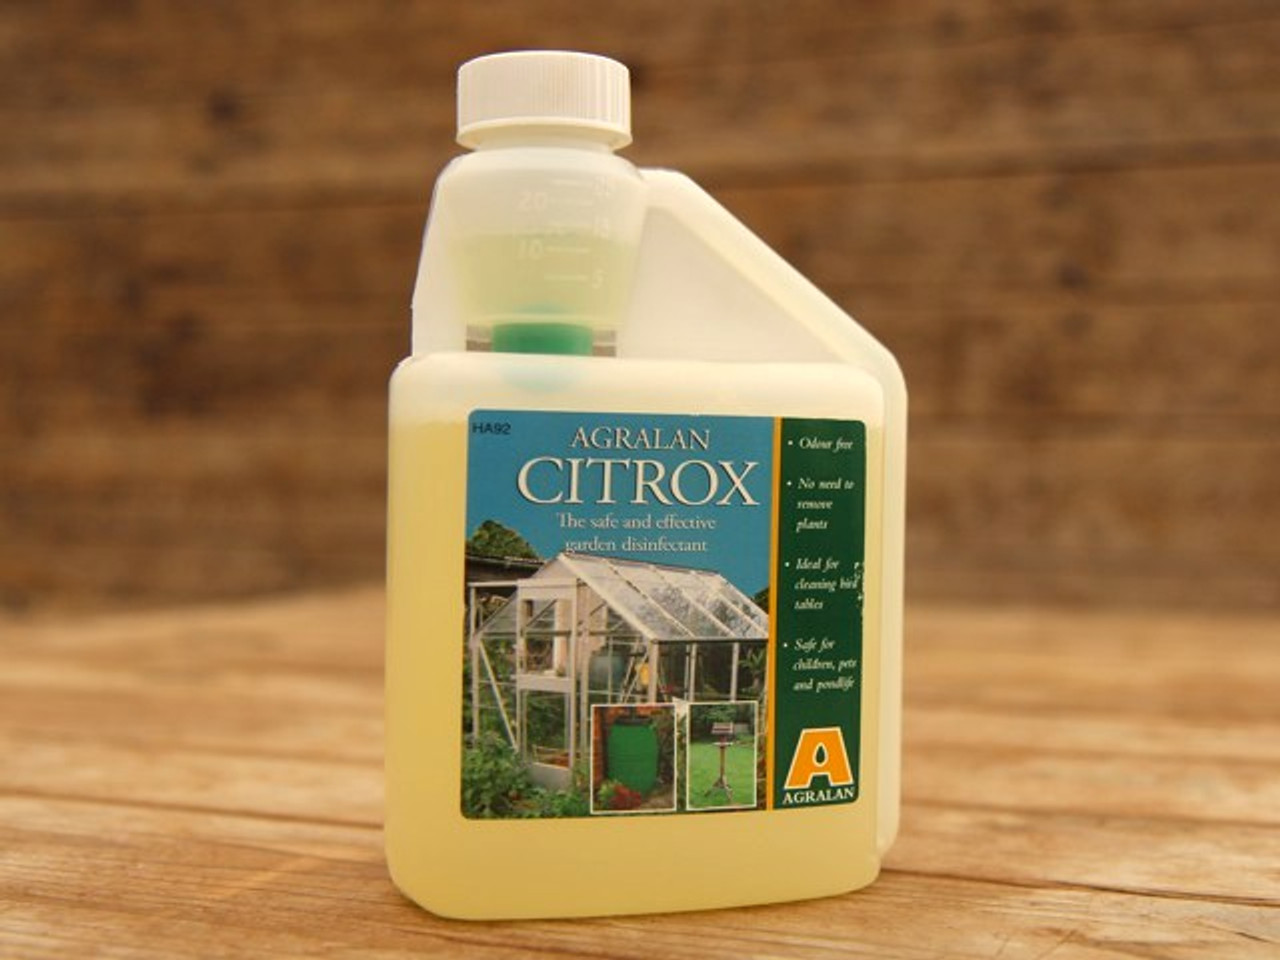
Citrox 500ml Greenhouse Disinfectant
View ProductYou will also need a soft-bristled brush or sponge and a couple of buckets. For the high and hard-to-reach sections of your polytunnel cover, you will need some type of ‘extender’ - such as a window-cleaning brush or a long-reach car brush.

The first thing to do is to hose down the cover, which should loosen up any layer of dust, grime or algae. Add some Citrox to a bucket of warm water, and using a small brush first seek out any folds or areas where dirt might accumulate. Then scrub the whole polythene cover (gently) with your brush or sponge, refilling the water and Citrox or switching buckets when necessary.
If the roof of the polytunnel is proving a bit awkward to clean, you can use an old bedsheet soaked in the solution - one person holds the sheet on each side of the tunnel and steadily moves down the length of the tunnel with a steady cleaning motion. Once the outer surface has been cleaned, you should finish by rinsing with a hose. At this point the results should be visible - a clean, gleaming surface.

How To Fix a Hole in a Polytunnel
View Related Article
Repeat the process on the inside of the polytunnel. You may need to wear some waterproof gear as water comes dripping back off the polythene surface. As above, you shouldn’t worry too much about water dripping onto plants as Citrox is plant-safe (you don’t want to drown them either, so make sure you wring the sponge out a bit).
Polytunnel Maintenance
A polytunnel is an investment, and you will naturally want to keep it performing at its best. There are a few different ways that you can ensure the structure's long-term durability, as well as an optimal growing environment inside the tunnel.

The polythene cover should always be stretched taut, but not overstretched. It's very important to get this right at the beginning, as it can save you an awful lot of future hassle. If the polythene cover is loose in certain areas it is more likely to get snagged on the door frame for example, or flap about in windy weather.
Consistent friction caused by the cover moving around can also lead to degradation of the polythene. On the other hand a polytunnel cover that is stretched too tight will also be vulnerable to damage; there should be a certain amount of give in the area surrounding the door frame(s).

The positioning of your polytunnel can also influence its long-term durability. If possible you should avoid an outdoor area that is exposed to strong winds, or add some natural windbreak. Another alternative is to add additional storm braces which can be fixed to the polytunnel frame.

Silver poplar-Populus alba, 1-3 Pack
View ProductBe careful when using sharp garden tools in the polytunnel and make sure to prune any climbing plants that are getting close to the polythene, as they can pierce right through it.
Snowfall is another thing to be wary of, as it can settle and accumulate on top of the structure. In turn this weight can put pressure on the polytunnel frame, as well as block sunlight at times of the year when sunlight is already probably in short supply. Usually the snow can be gently shaken off by using a sweeping brush from inside the tunnel to push on or tap the inner polythene.

Kent and Stowe Long Handled Leaf Rake
View ProductIf you have a break between harvesting and sowing - or you’re just approaching your main growing season - it’s a good time to tidy and clear away any clutter within the polytunnel. Doing this will ensure that you have an optimal environment for vegetable growing, with plenty of space for air circulation.
Letting foliage, weeds or dead material build up can provide a hiding place or a shelter for destructive garden 'pests'. Similarly, an overcrowded polytunnel with dense vegetation can increase the chances of plant disease, mould or fungi affecting your crops.

More space between plants and plant beds makes for better ventilation > better ventilation reduces humidity > low humidity means lower risk of disease and mould!


