
How to Start Seedlings Indoors

We are nearly at that time again when we sow some tiny seeds in compost and see them magically transform into large tomato plants bearing 15-20 kg of fruit each. The whole thing is incredible really. Imagine if you could buy a few little specks (for a couple of pounds) that could transform themselves into a new T.V. or a gearbox for your car? The whole thing is just brilliant. Whether you are sowing a humble radish or climbing vines of purple peas, it is a privilege to be the instigator and caretaker of this fascinating process.
The other thing I like about it is that it's not very difficult. There are a couple of things you need to get right, but once you are set up the rest pretty much takes care of itself.

The Benefits of Starting off Seeds Early
There are 3 main reasons why starting seeds off indoors is recommended:
- Warm climate crops such as tomatoes require long hot summers, but in this side of the world we have a relatively short growing season with less overall sunlight. Thus you will need to get them growing early so that the fruit has enough growing time to ripen and taste its best.
- Starting temperate crops (the ones suited to our climate) early allows us to get about a month ahead of the growing season by 'cheating' the last frost date in early Spring. If you are sowing directly outdoors you won't be able to start until the soil is sufficiently warm in late April or early May. Seeds sown in pots or trays indoors will (all going well) have grown into 4-6 week old seedlings by the time conditions are right for planting out.
- Plants are protected from pests and disease in their most vulnerable stages.

Super 7 Electric Windowsill Propagator
View ProductProtecting Seedlings from Slugs
Emerging seedlings are at a high risk of being polished off by slugs or snails. A four week old healthy lettuce seedling can withstand a bit of nibbling, but the tiny seed leaves on a new, emerging plant can be wiped out with one bite. Slugs can happily (and invisibly!) munch their way through whole rows of baby plants, leaving you wondering if they ever germinated at all.
Needless to say, seedlings that have been sown in a windowsill propagator or in an enclosed electric propagator are much less likely to show up on a slug's radar.
Protecting Young Seedlings from Frost
April can be an unpredictable month weather-wise, with warm days quickly turning cold and night time frosts still likely. Keeping cold, wind and rain off new seedlings will make a huge difference to their growth, with a bit of indoor pampering paying dividends in the long run.

I always sow about a third more seedling plants than I need. This means I am only selecting the strongest plants to plant out in May and have a few left over as backup if I have some casualties from slugs, snails or bad weather. The best plants from your seedlings stock will usually romp away in the warm spring soil and produce excellent plants.
How Much Heat Do I Need To Provide for Seedling Propagation?
If you are starting plants off in early spring you will need to use a heated propagator, as seeds need a minimum temperature to germinate and begin to grow. Heat can alternatively be provided with a heated cable laid in sand or a heat mat.
Each seed variety will have an optimum germination temperature (the temperature that triggers the seed to start growing), but as a rule of thumb cool (temperate) climate crops will be best at 18 degrees C, while warm climate crops will germinate with a compost temp of between 22 and 24 degrees C.

Use a heat mat, heat cable or electric propagator with a thermostat added to achieve an even heat. Thermostats are much more energy efficient, as the power is only turned on when the plant tray temperature falls below the the required level. You will find temperatures in a polytunnel or greenhouse will often exceed those required on a sunny Spring day - extra heat simply isn't needed at these times.
The best propagator on the market in our books is the Vitopod, which allows you to set a very precise temperature, has good ventilation and can be increased in height to accommodate taller plants. We supply the Vitopod range and can also supply adapter kits and growlights to be fitted to the top of the unit.

Small Vitopod Electric Propagator Single or Double Height
View ProductSeed Propagation Tips
1 - Use a Fine Seed Compost
Seed compost is finer and has lower nutrients than multipurpose compost. High-nutrient compost can inhibit seed germination in some plants and damage young roots.
An ordinary multipurpose compost can, however, be used in most cases so long as it is passed through a compost sieve (to remove any large lumps and allow easy root penetration).
Klasmann Organic Seed Compost - 70 Litre
View Product2 - Sow in Modular Trays
Sow seeds in modular trays with individual cells. 'Modular' refers to seed trays that contain a fixed number of individual cells, each containing a single 'plug' plant. Plug plants are easy to remove from the trays - and easy to handle with minimal root disturbance when planting out.
Modular trays are also more efficient when you are using a heated propagator, as you will fit more plants on the heat than with individual pots. You will also find moving plants around for hardening off or planting out much easier.

We find that an 84 cell tray is the best fit for most crops, with a 6 cell version (which has larger cells) suitable for plants which need to spend longer in the tray - examples are tomatoes, cucumbers, courgettes, peppers or squash.
3 - Germinate with heat
Seeds sown in early spring will need heat to germinate. (See the section above on 'How Much Heat Do I Need to Provide...?')
Most electric propagators will feature an accurate thermostat to be set at the required temperature. Other types of propagators or trays can be placed on a heated mat or bench.
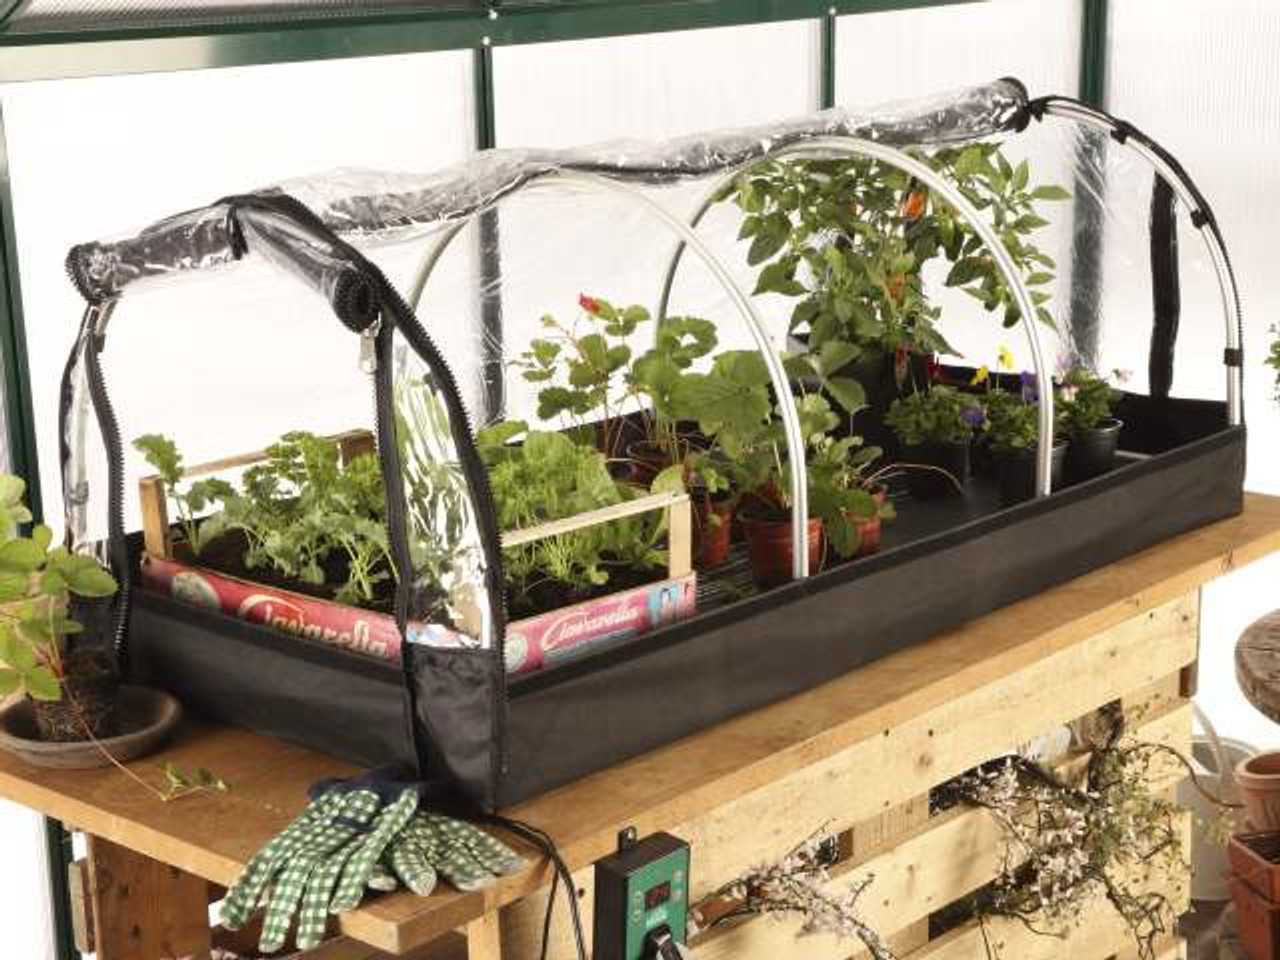
Bio Green Jumbo Propagator
View Product4 - To Cover or Not to Cover?
Cover seeds with a fine layer of compost after sowing. Tamp the compost down gently, and scrape off the top of the tray with a ruler to leave a loose structure for the new seedling to push through.
The exceptions to this rule are lettuce, celery and celeriac, which will germinate better if left uncovered. In this case, make depressions in the surface of the soil with your fingers and sow one seed per cell. It is helpful to water the compost before you sow, as watering the uncovered seeds after sowing can wash them out of position.

5 - Dampen compost
Compost should be moist but not soaking. Extra watering shouldn't be needed until the seedling has emerged. Care should be taken when watering newly sown trays to avoid washing compost or seedlings out. Use a watering can with a fine spray, or the very handy bottle top waterer.
6 - Watch the Temperature!
One of the main things you need to watch when growing in late winter or early spring is your heat-light balance. The beetroot seedlings pictured below might look colourful with their bright magenta stems, but they have grown long and leggy due to too much heat and not enough light.

With the exception of warm climate crops (tomatoes, cucumbers, peppers, aubergines and squash), it is best to take plants off the heat as soon as you see them above soil level.
Soil is warmed naturally by the heat of the sun. If there is not enough sunlight but the compost is warm, your seedling will grow fast to try to find the light. This fast growth results in long, leggy stems that are weak and will not produce a sturdy plant.

Vitopod Large Propagator with Lights & Support Brackets
View ProductRemoving your seedlings from the propagator will lower the compost temperature, which will slow growth down in balance with the available light.
Another way to address the heat/light balance is to supply your own light, using horticultural lighting. Growlights emit the same spectrum of light as sunlight (unlike domestic bulbs) and can either be placed on a propagator or suspended above your seedling area.
7 - Protect from the Cold
Protect seedling plants with a good quality horticultural fleece at night when temperatures fall. Fleece will protect a plant down to -3 degrees - and is much cheaper than a greenhouse heater! Fleece is a very light material, and is simply draped over the growing seedlings without damaging them. It also lets light through, so can be left on the plants if daytime frost is a risk.
If you are germinating seedlings in an unheated greenhouse or tunnel, your fleece will also be used once the plants come off the heat. Don't place seedling trays directly on the ground: keep them raised up on an old shipping pallet or similar. On sunny days you can start placing your trays outside, but I would always bring them in at night (especially if frost is forecast).

T Shaped Wooden Plant Labels
View Product8 - Label Your Seedlings
Always label your seedlings with variety and date of sowing. It's fun to be organised! Use a pencil so you can re-use the labels.
9 - Watering
Always lean towards underwatering rather than overwatering young seedlings, for the following reasons:
- The plant grows more roots looking for moisture making it stronger in the long run.
- Plants are less likely to suffer from 'damping off' disease, a fungal infection caused by excessive moisture.
- Drier compost tends to be warmer in cold weather, giving better growth.

Bottle Top Waterer 4 Pack
View Product10 - Timing and Planting Out
Most seedlings will be ready to plant out in 6-7 weeks if started in early Spring; or 4 weeks when the season warms up in April.
Warm climate crops like tomatoes and peppers will need to be kept on a low heat until late March at least (depending on the weather).
Heat Benches and Large Scale Propagation
We use large heat benches in the Quickcrop nursery or polytunnel, which are made by burying a heated cable in damp sand and placing the seedling trays on top. I have written a detailed article on how to make such a bench so won't go into it now, but suffice to say they can be made to any size and are easy to construct.
You won't be able to get the temperature of a bench as high as in a propagator given the surface area, but my tip is to cover the bench with a couple of layers of horticultural fleece to keep the heat in. This will also help save energy as the bench won't be on all the time (provided you use a thermostat). The other tip is you need to keep the sand moist to transfer the heat: once it dries out it will not work anywhere near as well.
We never have enough room on our heat benches to germinate the number of trays we need at our peak sowing times, so what we do is stack them up to 3 trays deep. This process takes a bit of minding. The bottom tray will germinate first (where it is warmest), so you need to keep a close eye on them and swap them for the top as soon as the first shoots appear.

If the person minding them over the weekend (me) forgets to check them, the new seedlings will be starved of light, grow long and weak and have to be discarded. If you are trying to get more from a propagator at home, this is a handy method that can be applied. Just check the bottom tray every day and move it to the top when the first signs of life appear. You don't need them all to have come up either: once you see a third of the seedlings, the rest of the seeds will have germinated but have just not yet broken the surface.
The most important thing to remember is we only need the heat to trick the seed into germinating: once growth has been triggered, they will continue growing at a lower temperature. You can see one of our heat benches above with a single layer of cabbage plants just starting to come up. To save energy I also cover the benches with a layer of fleece to keep the heat in at night which also speeds up the germination process.

Once the seedlings come up any outdoor crops are removed from the heat. We place the trays on wooden pallets on the floor of the polytunnel to keep them off the cold ground. We then cover with horticultural fleece, which protects them from temperatures down to -2 or -3 degrees.


