Sowing Tomatoes in late February - a guide from Rhys Jaggar

Despite the fact that I am usually busy enough in the polytunnel in late Winter (sowing sweet peas, peppers, broad beans etc....), it is not until I sow my tomatoes that I really feel the season has started. Nothing says summer like a juicy tomato, and even sowing the seeds seems to transport me to the eagerly anticipated summer weather.
I sow tomatoes at the end of February (I got them done on Sunday) and have to grow them in the polytunnel from start to finish as I don't have the climate for growing outside. I will go into my tomato sowing procedure in a minute, but suffice to say it is a 2 and sometimes 3 step process:
- sowing in trays
- potting on
- and finally, planting in the polytunnel

Salad Tomato 'Resibella'
View Product
Growing tomatoes in NW London
I had mentioned sowing tomatoes a couple of weeks ago, which prompted a mail from Rhys Jaggar (one of our valued customers) asking whether I would be interested in his experiences as a city grower in NW London. Rhys is a serial prize winner in local shows and produces tomatoes both for competition and for his table.

Of course I said yes, and he responded by sending the very detailed advice which you can read below. While I don't have the climate to grow tomatoes outdoors, Rhys does: and I am sure city gardeners, particularly those in London, will find his information most helpful. He makes particular reference to sowing and planting out times for outdoor city growing.
My sincere thanks to Rhys for taking the time to put it all together.
Rootgrow Mycorrhizal Tomato Starter (6 Plant Biscuits)
View Product
Optimum Conditions
"I think it is worth mentioning that for any plant, there are optimum growing conditions which (if all goes well) will result in an optimum plant and harvest. It is also true that plants survive and do perfectly well in sub-optimum conditions, and still produce a harvest that most gardeners will be happy with.
I only make this point as there is a wide gap in technique and time invested between 'expert' and 'everyday level'; if you are at the start of your food growing adventure don't be put off by the fine print. When I first started growing, I produced delicious harvests of tomatoes from very basic methods. I now pamper them a bit more and do get higher yields, but my original efforts still did well and tasted great!

Sowing Tomato Seeds
The first tomato plants that I grew were from seeds sown in 6 cell planting modules. Each cell in a 6 cell is about 7cm x 6cm x 6cm deep, and was home to one seed. Once the plants outgrew the modules, they were planted directly into the soil in my polytunnel.
As I said, it worked and I got lots of lovely tomatoes. This method is quick and easy and works just fine. The downside of the above is that the plants can only spend about 4 weeks in the cells before the roots become restricted.
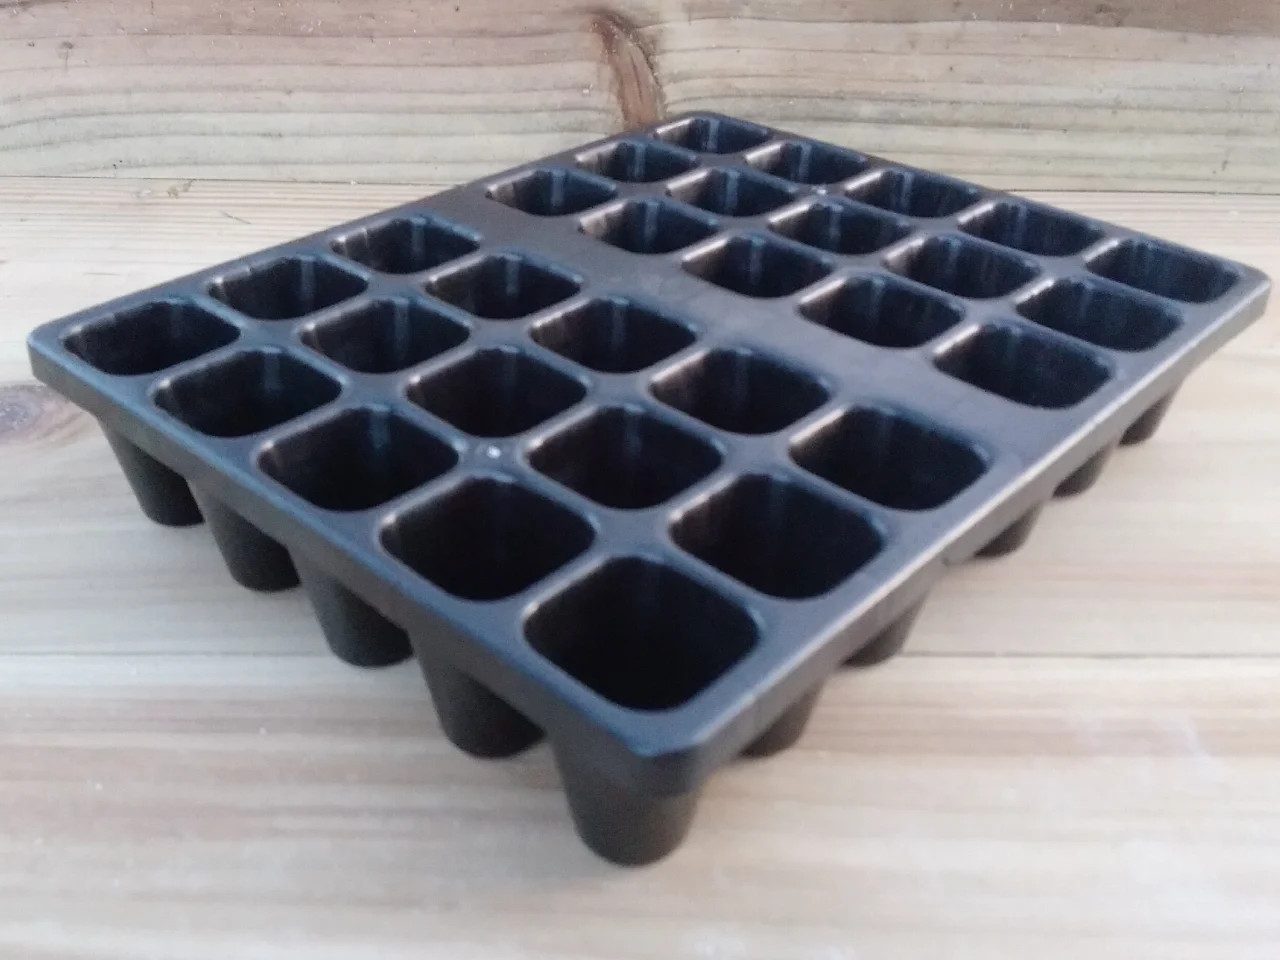
Charles Dowding 30 Cell Plant Tray
View Product4 weeks in the cell means they can only be sown in late March, and it also means a smaller plant and a less well developed root system. If you live in an area with short summers (like me), you need to get the most from the season: you want vigorous, well developed plants by May when it's time to plant them in their final positions.

Growing stronger seedlings
The next step on from the 'no frills' method above is growing tomato seedlings in stages before finally planting them in the polytunnel, greenhouse or (if you have the right conditions) outside.
As you know, one of the problems we need to overcome when starting seeds early in the year is leggy plants due to an imbalance of heat and light. We need artificial heat to get the seed to germinate, but we don't have enough natural light for balanced growth once the seedling emerges.

Small Vitopod Electric Propagator Single or Double Height
View ProductThe handy fact that tomato plants will grow roots from buried stems means we can work around this problem by burying a significant percentage of the plant, and turning a leggy stem into a valuable root. We can therefore grow a plant with a more expansive root system by progressively potting them on as follows:

Sowing and Transplanting Tomatoes
Sow multiple tomato seeds in a pot or a seedling tray (open tray rather than modules) in a fine grade, low-nutrient seed compost (happily Rhys recommends our Klasmann product). Seed should be sown thinly, e.g. 10 seeds per 9cm pot.
You can either cover the seeds with a fine layer of compost or vermiculite. I like to use vermiculite, as it holds moisture while allowing air to circulate: this helps avoid damping off disease and creates a very comfortable environment for the seeds to germinate.

Klasmann Organic Seed Compost - 70 Litre
View ProductNot that it matters, but I also think it looks quite nice. The photo above shows the chilli seedlings I sowed last week popping up in my Vitopod propagator; it kind of reminds me of Derek Jarman's garden.
Temperature
The temperature should be at least 20˚C for even germination; at that the seedlings should emerge in 6-8 days. I don't want to make you jealous (well I suppose I do) but this process is simplicity itself with the Vitopod, with its large, easy to use thermostat. You just click the green button once and use the + and - to set the desired temperature, click the green button again and you're done.

Once the seedlings have emerged I turn the heat down so they don't grow too quickly (and get leggy). I find 12˚C is about right. As soon as the seedlings are strong enough to handle (usually 10-14 days after sowing and when the first set of true leaves appear), they should be transplanted into 8-10cm pots or a tray of large modules filled with a richer, multipurpose compost.

The trick (as in the photo above and below) is to create a hole with your finger and bury the young seedling right up to the leaves. Then push the compost in around the seedling and firm in place. The hairs on the buried stems will produce roots when they come in contact with the compost. This trick only works on tomatoes by the way; it won't work on chili peppers or cucumber, where the stem will rot instead.

After another 3-4 weeks the resulting young plant can be potted on to a larger pot containing fresh compost. The same method is used when potting on; you can bury half the plant (even if it has leaves) to further build the root system. For later sowings this second potting may not be necessary, as it may be time to plant out. For me, with seeds sown last weekend, I will be transplanting once and re-potting once.
This method will produce a lovely plant. Each time you pot on you are using fresh, nutrient-rich compost. so you won't need to feed. The resulting root system will be deep and extensive and - as we know - the better the root system, the stronger the plant."