
How to Install a Drip Irrigation System
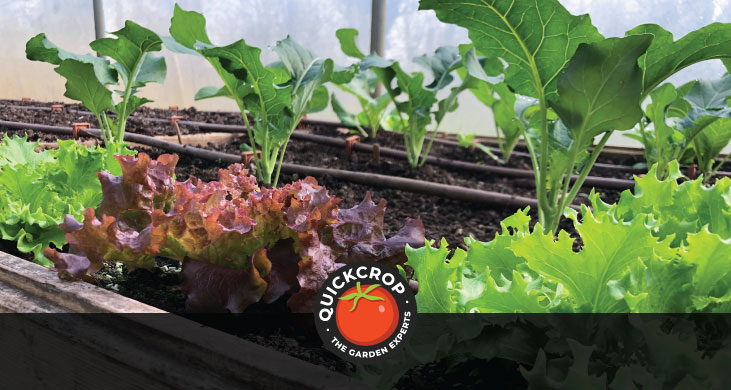
Drip irrigation is a very efficient method for watering your plants, whether they are in vegetable beds, containers, or inside a polytunnel. However, the overall layout of a drip irrigation system can seem complicated at first. Once you understand the individual components it is easier to see how you can make the system work for you and your garden.
Common Components of a Drip Irrigation System
A drip irrigation system will usually consist of:
- Your water source, whether it’s a mains tap, rainwater harvesting barrel or another source.
- An optional water timer can be connected at this point. This allows you to set a timed watering schedule (e.g. early morning or evening) and is ideal if you are away from your garden or often too busy to stay on top of the task.
- A filter prevents contaminants from entering the system and reduces sediment buildup which can otherwise cause clogs in the emitters. This is best placed after a pressure regulator (if you are using one, see below).
- A supply pipe (aka mainline) which carries the water to the dripper pipe.
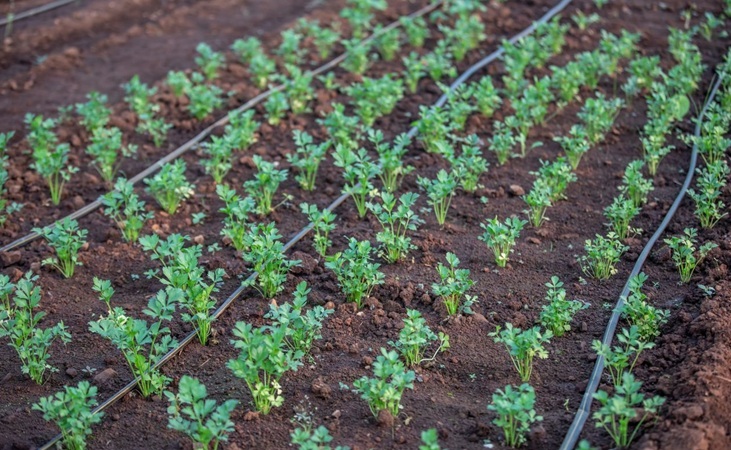
- The dripper pipe or tube, which will be placed on the soil along beds, rows, hedges etc. This is made from a durable material and is usually about a half inch in diameter.
- Small emitters or drippers are evenly spaced out on the dripper pipe (usually at a distance of around 30 cm, but this can differ according to the system and plant needs). The emitters deliver a measured flow of water to the root zone of your plants.
- A series of connectors and fittings are used to link the system together (such as straight couplers, elbow and tee connectors).
- Valves allow you to optimise your system further by shutting off or regulating the water flow for individual plant zones (e.g. some plants will need less water than others). If you think of your system as a river, the valves allow the water flow to branch off into tributaries.
- An end plug fitting is used to ‘cap off’ the system.
- Depending on the system and source, you may need to install a pressure regulator to ensure that the water pressure is not too high.

120 cm Wide Garden Bed Irrigation Kit
View ProductAdditional Points:
- Some more advanced drip irrigation systems can be connected to a smartphone via a smart irrigation controller, allowing you to monitor and adjust watering schedules remotely.
- A drip irrigation system may use either pressure-compensating or non-pressure-compensating emitters, depending on the application. Pressure-compensating emitters provide a more even flow where there are long pipe runs or changes in elevation. Non-pressure-compensating emitters are generally suitable for shorter and more level runs where water pressure remains relatively consistent.
- If using a water butt or container as your water source for the system, you will more than likely not have enough pressure (unless the water butt is significantly elevated). The most common solution is to use a submersible pump to raise the pressure; battery-powered options are available. You could also opt for a gravity-fed drip irrigation system - these are designed to operate at very low pressures.
Drip Irrigation Maintenance
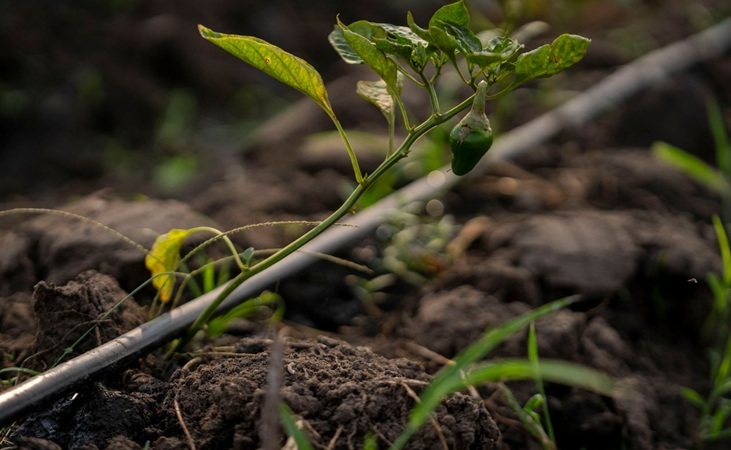
- (Periodically) walk along the irrigation lines while the system is running. Keep an eye out for leaks, disconnected fittings or damaged emitters.
- Clean filters regularly, and make sure to 'flush' the system at the start or end of the growing season.
About the Quickcrop Drip Irrigation System
Our drip irrigation system is very easy to set up once you understand the components and how they function. It can be adapted to suit the shape, size and layout of your vegetable garden - and we even offer kits that are specifically designed for the most common raised bed sizes.

Build Your Own Drip Irrigation System (Parts Picker)
View ProductAll vegetables have different individual watering requirements, which themselves can also vary throughout the season according to temperature and weather fluctuations. Our drip irrigation system can be built to accommodate these needs, providing the ability to incorporate separate watering zones and practice a targeted watering regime.
- Drip irrigation systems use a thinner hose or pipe than your standard garden hose. So our system is designed to begin with a standard Hozelock style fitting which simply clicks into your tap or garden hose connection.
- At this point you can add an optional timer or filter (both recommended). The water is then carried to the area you want watered using a supply pipe (grey, with no drippers) where it connects into your irrigation or dripper pipe (brown, with evenly spaced emitters).
- Example: if you have 2 raised beds you would use a supply pipe to connect to Bed 1, where you then attach a dripper pipe to run around the bed. You would then attach a length of supply pipe to connect to Bed 2, and add your second dripper pipe.
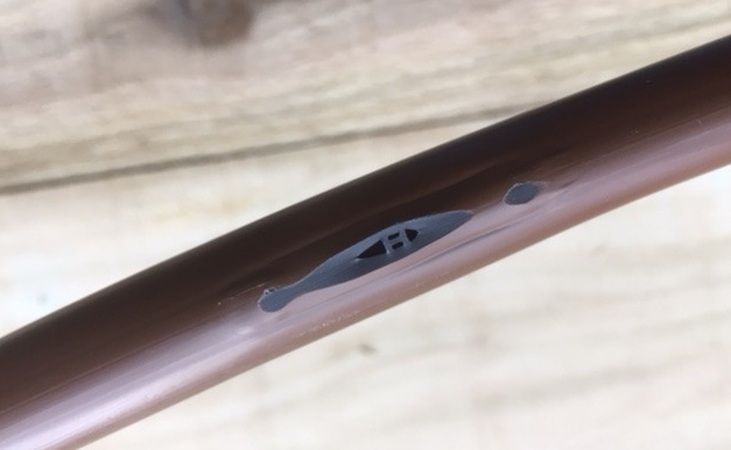
- Both the supply pipe and dripper pipe are 16 mm in diameter. The emitters on the dripper pipe are somewhat unlike other designs; they are slightly sunken into the pipe itself rather than extending outwards. Because the emitters are integrated into the pipe there is less chance of leaks.
- The dripper pipes used in our system are pressure-compensating, which is especially useful for long drip lines, changes in elevation (e.g. slopes) and for more uniform watering across the system (if desired). They feature a self-flushing design and a physical root barrier to prevent root intrusion.
- T Piece fittings are used to connect sections of dripper pipe together.
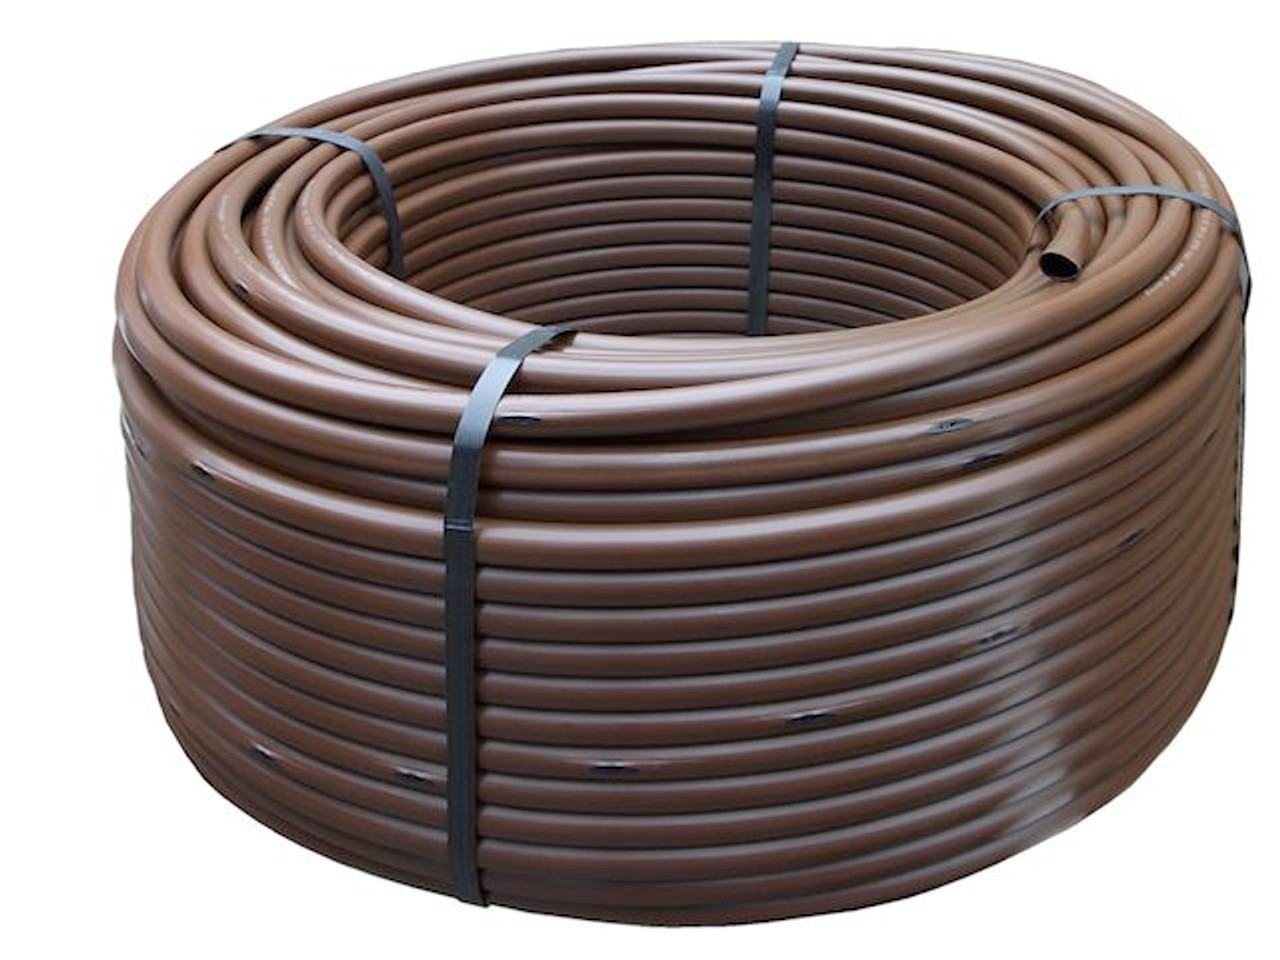
16 mm Dripper Irrigation pipe - 50 m
View Product- The dripper pipe is easy to cut and shape, and is joined using simple push-fit connectors. The pipe is flexible (bending radius: 18 cm) and UV resistant.
- The emitters are self-cleaning and are evenly spaced every 30 cm. The flow rate is 2.3 litres per hour.
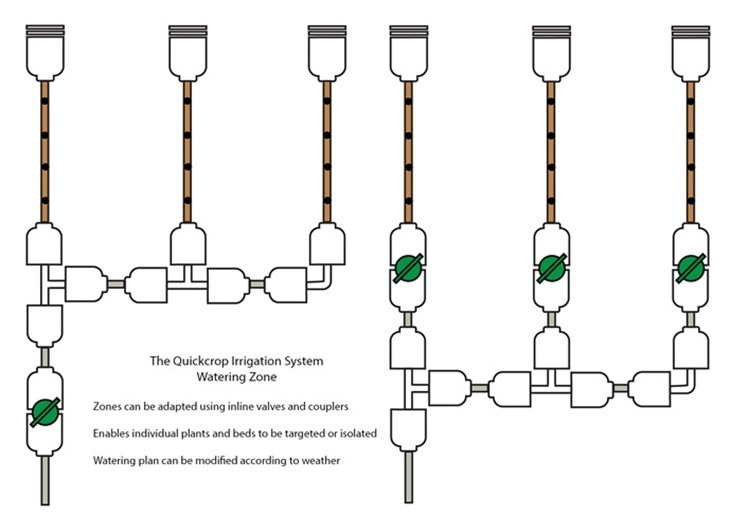
- You can have as many dripper lines as you wish, and can send them any direction you like using the range of T pieces, connectors and elbows.
- We recommend isolating each vegetable bed as a separate zone, allowing you to control the water supply according to the localised needs of the crop(s). Any number of beds can be added to this system, with each zone receiving an evenly distributed supply.
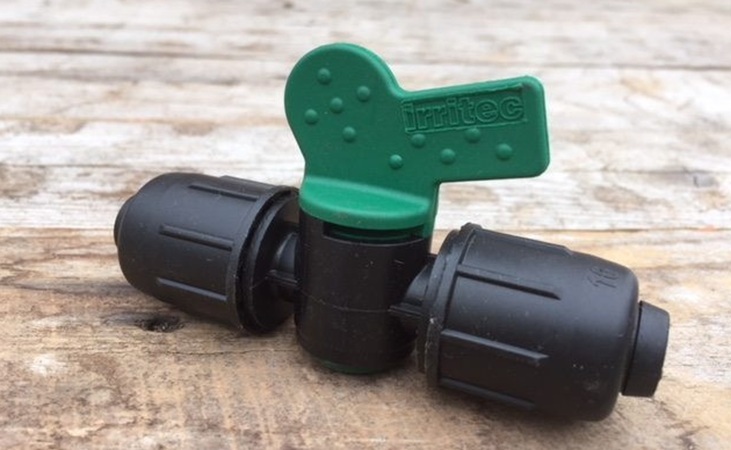
- The valve fittings are really the key to optimising the overall system. Using these, you can shut off the supply to individual dripper lines. If you have your plants grouped into separate zones according to their general watering needs, this is a very efficient method of targeted watering. You will ultimately be conserving more water and looking after your plants better at the same time.
- The valve fittings are easily added to your system by loosening the ring clamp, cutting your irrigation or supply pipe and pushing each cut end into either side of the valve. They can also be added within individual beds for even more precise delivery.

4 Way Micro Irrigation Valve & Dripper Lines
View Product- We also supply this 4 way valve and dripper addition, which is perfect for drip watering plants in containers. These emitters are shaped like pegs and can be inserted directly into the root zone - you can place all four pegs in a single large pot or insert each peg into its own corresponding container. The valve end is inserted into your 16 mm supply (grey) piping by punching a hole using a micro irrigation line punch tool. Once the hole has been made in the supply pipe, the valve is pushed firmly to insert and is locked in place.
Frequently Asked Questions about Our Drip Irrigation System
Q: Is this system easy to put together?
The system is easily assembled without the use of any tools. The couplers and hoses use a simple push-fit connector method with a hand tightened cap. The hose can be cut to length with a craft knife or kitchen scissors.
Q: Where should I place the timer?
The timer is located at the start of the watering system, and should be accessible to the tap water supply. Our timer is of a commercial standard and resilient to water ingress - but do take care to shelter/shade it from extreme sun or rain.
Q: What water pressure do I need?
We recommend a water supply pressure between 1 and 2 Bar.
Q: How do I accommodate the varying needs of each plant?
Plant your watering zones carefully, grouping the less thirsty plants together. Adjust the supply valves according to the individual plant or plant grouping.

Baccara Automatic Water Timer
View ProductQ: How do I prevent overwatering?
Separating plants with similar needs into their own beds or zones, setting the timer and adjusting the isolation valves correctly will all help to prevent unnecessary overwatering.
Q: How long should I water the garden for?
Although plants have differing take up rates, a general rule is that the soil should be watered until it is completely wet but not waterlogged. Make a few test waterings by hand in order to determine your timer settings.
Q: What should I do if it is raining?
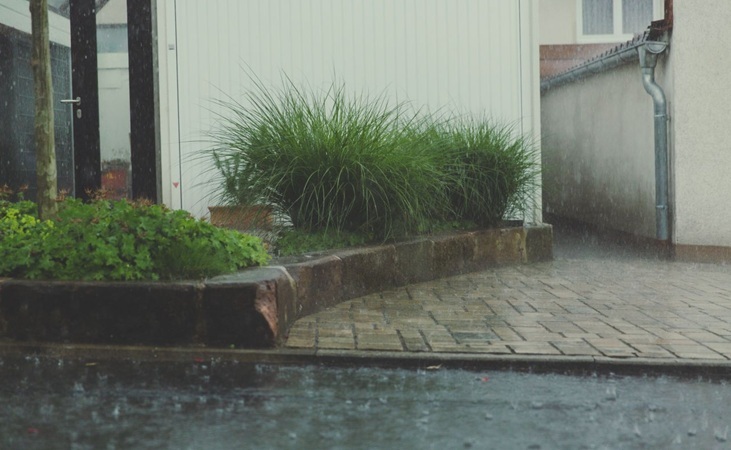
Most plants will enjoy the occasional downpour, in which case you may want to switch off your timer until the wet weather passes.
Q: Should I cover the dripper piping?
Leave the dripper on the soil surface, allowing the water to soak down to the roots of the plants. If the hose is buried you may be watering below the root level. However you can place a mulch lightly over the dripper piping; this can be beneficial in very warm weather.
Q: How many beds can I connect to my Drip Irrigation System?
As long as the water supply pressure is adequate you can keep adding more beds.
Q: Can this system be used for watering borders?
Our irrigation system is equally adaptable for use in borders; using appropriate lengths of dripper hose as needed.

Burgon & Ball Shrub Rake
View ProductQ: What is the maximum length of dripper hose?
The dripper hose can be used in lengths up to 100 metres. 50 m and 10 m lengths are also available.
Q: Can I change the layout once it's been set up?
As plants are harvested and beds allocated to new crops, the system can be reconfigured easily. All couplers, hoses and fittings are reusable.
Q: Can I expand the system?
More zones and beds can easily be added to the system. Simply add more hose and couplers to the existing layout, changing the Tee and Elbow connectors as needed.