
How To Grow Kohl Rabi
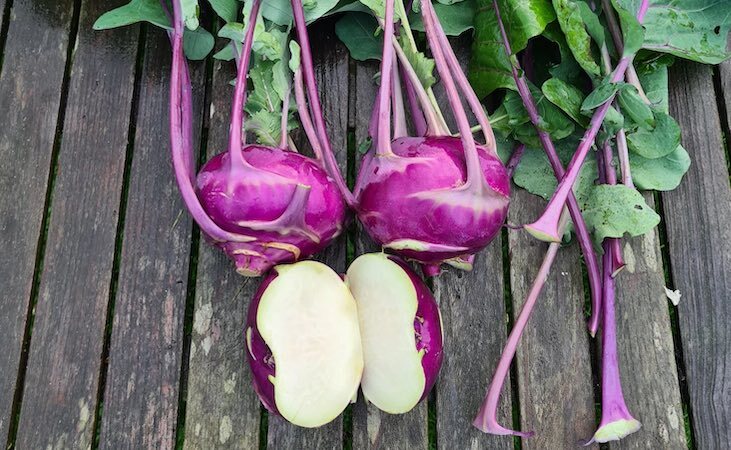
Kohlrabi sports a rosette of blueish-green leaves above a swollen stem. This almost globe-like stem makes it appear like a turnip growing on a cabbage root. In fact, in German 'Kohl' means cabbage and 'rabi' means turnip.
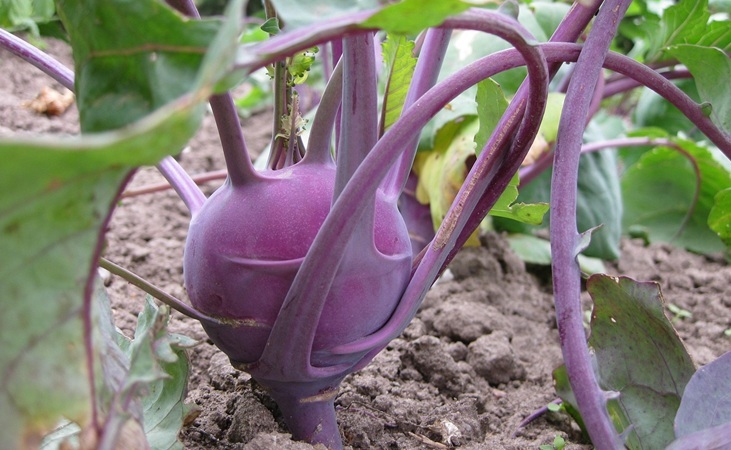
Depending on the variety of kohlrabi, the edible swollen stem can be green, white or purple. It all makes for one of the most distinctive crops you can grow in the garden or tunnel, one that will stop friends or visitors in their tracks!
Kohlrabi is easy to grow, very nutritious and it tastes good too - if you're a fan of celery you will like its similar nutty flavor. The leaves are also edible: they can be added to salads or boiled like spinach. Best of all, it is perhaps the hardiest of garden vegetables and will grow long after your other garden vegetables have succumbed to the cold and frost.
Recommended Varieties: Azur Star, Superschmelz
Site and Soil
Kohlrabi will do best in a sunny spot. Shelter is also beneficial. Avoid soil that becomes waterlogged or conversely soil that dries out rapidly.

Envirogrind Enriched Compost 850 L
View ProductKohlrabi will do best in a fertile soil with plenty of organic matter or rotted manure added in advance. It does not need a particularly deep soil, as it is the stem that grows into a bulb.
When to Grow Kohlrabi
White, green and purple varieties can usually be sown from March to the end of July. You can even sow from July to the end of August if it is a purple variety. For all varieties it’s a good idea to make successional sowings: allowing you harvest continually while the veg is young and tender.
Sowing Kohl Rabi
I recommend sowing Kohl Rabi in modular trays, you will find the plants establish better and it's far easier than growing in a seed bed. Why?
- Excellent crop establishment
- Uniform plant development
- Quick transplanting with minimum root disturbance
- Gives the plant a head start against weather and garden pests and diseases.
Klasmann Organic Seed Compost - 70 L
View ProductSowing in Modular trays
Use a seed compost which has a finer texture and lower nutrients than your standard multipurpose compost. We use a seed module tray with each section being approx. 2 inches deep. Here's what you do:
- Fill the seed tray with compost and brush off any excess. When filling the tray rub the compost through your hands to break up any lumps. Give the tray a sharp bang on your table to settle.
- With your fingers make small depressions in each cell about a fingernail or 2 cm deep.
- Sow 1 or 2 seeds per module. If two seeds germinate you'll need to pinch out the weaker seedling.
- Cover the seeds with another layer of compost then scrape across the top of the tray with a stick to remove excess.
- Gently water your seeds. A good tip is to use a plastic bottle with small holes punched in the cap. This is less likely to wash the seed around than the heavy spray from a watering can.
- Place your trays in your greenhouse, polytunnel, cold frame or windowsill to germinate. They should be ready to plant out in about 4 weeks. For continuity sow small amounts in mid April. mid May, early and late June.
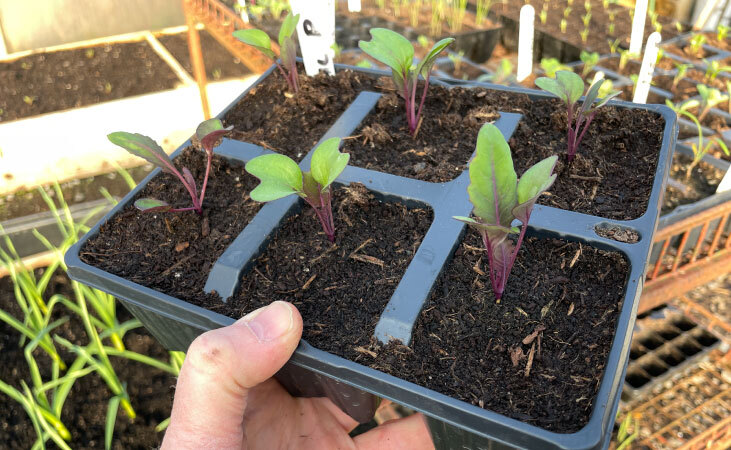
Hardening Off Kohlrabi Seedlings
Plants that have been raised indoors will need to get used to the outdoor temperature and conditions before they can be planted outside - this will take about a week to 10 days, depending on the weather.
The best way to do this is to use a cloche or mini-greenhouse. You can leave the cloche off the plants on dry frost-free days and replace at night. Gradually increase the time with the cloche removed until the end of the week, when you will then leave it off day and night.

Plantpak Solid Wood Grow House - Mini Greenhouse
View ProductIf the weather is mild you may not need the cloche; just move the plants outside for longer periods each day. If you have started your seeds on a windowsill you will need to leave them in an unheated room for a day or two before moving outside to the cloche.
Transplanting Kohlrabi
Spacing: The spacing for Kohlrabi is 30 cm between plants and 30 cm between rows for a good sized vegetable. If you'd like smaller versions, plant at 20 cm apart and 30 cm between rows.
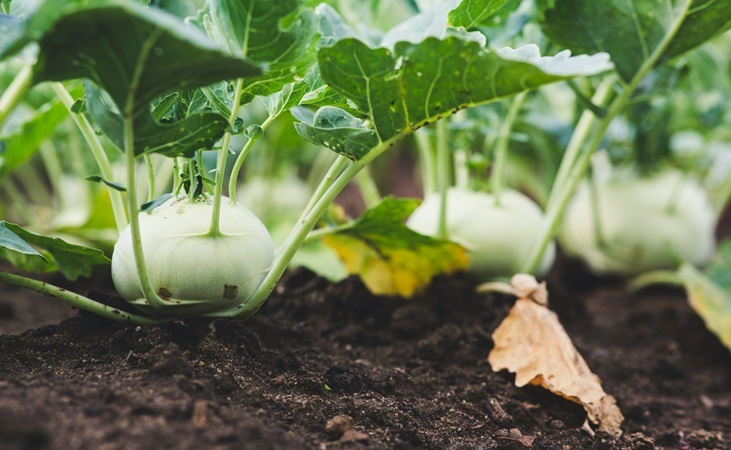
Water your seedlings well an hour or so before transplanting. To plant, make a hole in the soil the approximate size of the seedling 'plug'. Try not to dig up too much of the surrounding soil. You need to push the soil in around the roots firmly with your fingers to get good contact with the soil.
Water the plants after planting but do not soak them. You are better to transplant on a dull day or in the evening to prevent the plants wilting on a hot, dry day.

Kent & Stowe T Dibber
View ProductImportant!: Unlike other brassicas don't plant Kohlrabi any deeper than it was in the plug tray. The bulbous stem swells to form the part you eat, and earthing up or covering the stem will cause it to rot.
Kohl Rabi Crop Care
Keep the soil consistently moist throughout the growing season. Kohlrabi has relatively shallow roots, so it benefits from regular watering rather than occasional heavy soaking. Uneven or excessive watering is one of the main causes of split or woody, fibrous bulbs.
Applying a layer of organic mulch around the plant can help conserve moisture, reduce weeds and keep the soil temperature steady during summer.
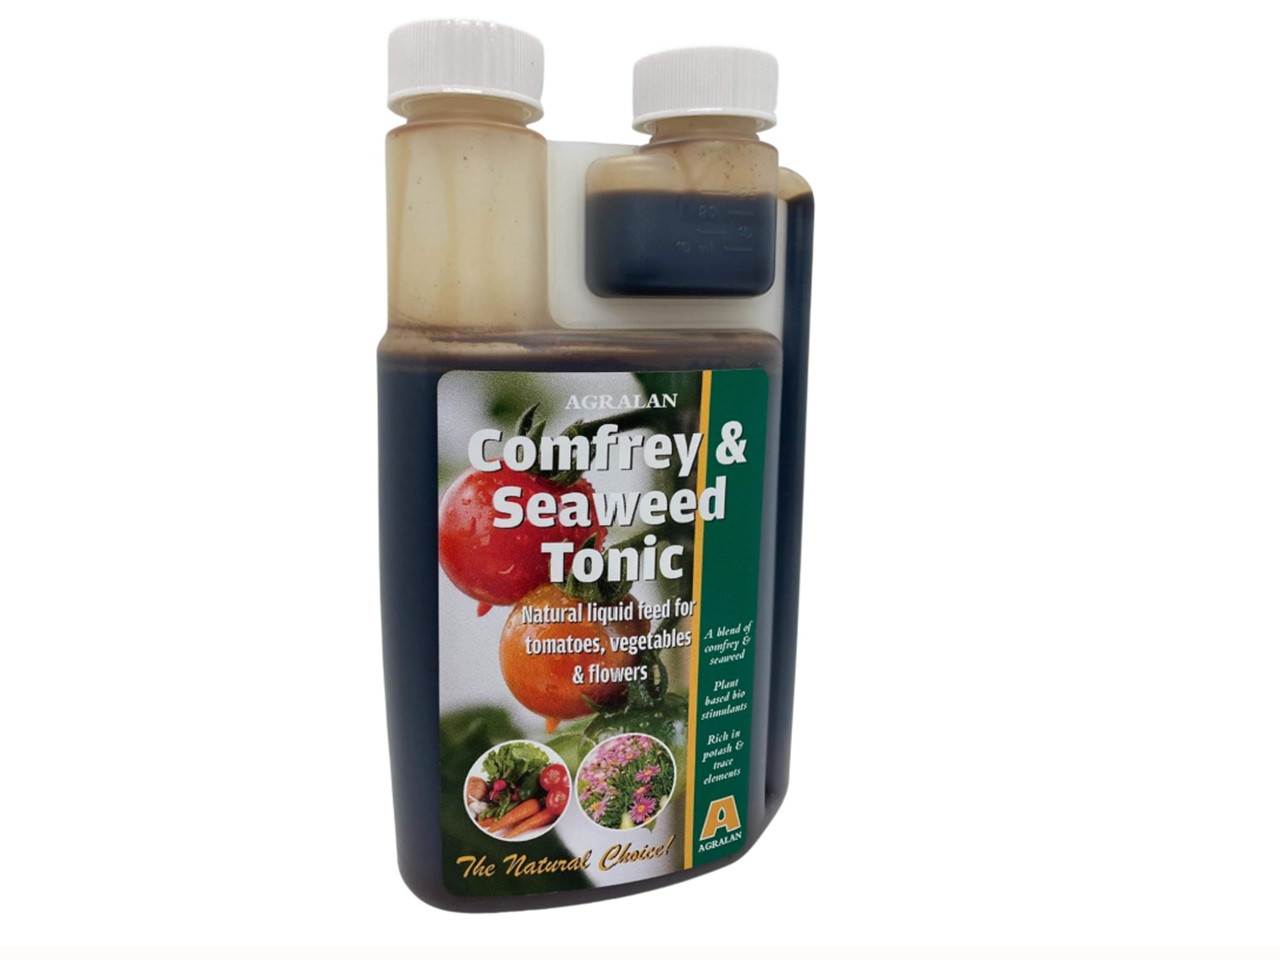
If growth appears sluggish, a light feed with a balanced liquid fertiliser every couple of weeks will help. Avoid nitrogen-rich feeds, as these encourage large leafy tops instead of the swollen stem that you're hoping for.
Comfrey & Seaweed Tonic - Liquid Plant Feed
View ProductPest and Disease Control
I don't want to put you off but there are a couple of things you'll need to look out for when you've planted your seedlings. Sprouts belong to the cabbage or Brassica family, so all the same pests and diseases apply as with cabbage. Prevention is better than cure, so here we go:
Cabbage Root Fly
Cabbage root fly is a small grey fly (a bit like a small house fly). It lays its eggs at the base of cabbage seedlings, the eggs hatch into maggots and then burrow down to feast on the new roots of your plants.
Symptoms: Young plants will begin to wilt and eventually stop growing. The leaves will start to take on a blue/green colour. If you bite the bullet and pull up the plant you will see white maggots tucking into the roots.
Control: The best organic method of control is to cover your crop with micromesh to stop the fly laying its eggs. Make sure the net is sealed all the way round to prevent access by the fly.

Enviromesh Netting Bird And Pest Protection
View ProductCabbage collars: You can either buy or make these yourself from roofing felt or carpet underlay.
The collars are a circle of material covering the soil around the base of the plant, which helps prevent the root fly laying its eggs around the stem and stops the maggots burrowing down to the roots.
Nematodes: These are naturally occuring microscopic worms you can order a squadron of; they attack the larvae of the cabbage root fly. The nematodes are in your garden soil anyway - you're just increasing the numbers.
It is a non-chemical product so is safe for use around pets and children. You will need to do a couple of applications, but in my opinion it's well worth it as you'll also protect a whole host of other crops.
Cabbage White Caterpillars
The caterpillars of the cabbage white butterfly will reduce your plants to a skeleton within a couple of days so clearly it's best to keep on top of them.
Control: Look out for the yellow eggs of the butterfly under the leaves and brush them off. It's much easier to remove the eggs than the caterpillars so this is well worth doing. The best and easiest method however is to cover your crop with a good mesh netting (as with root fly).

Kohl Rabi 'Superschmelz'
View ProductCabbage Whitefly
The Cabbage whitefly is an aphid (like a greenfly except white). It is less troublesome than other cabbage pests but still worth keeping an eye on.
The adults are tiny white insects which you'll find on the underside of the leaves. They produce a sticky substance called 'honeydew' which will probably cause a grey mould later.
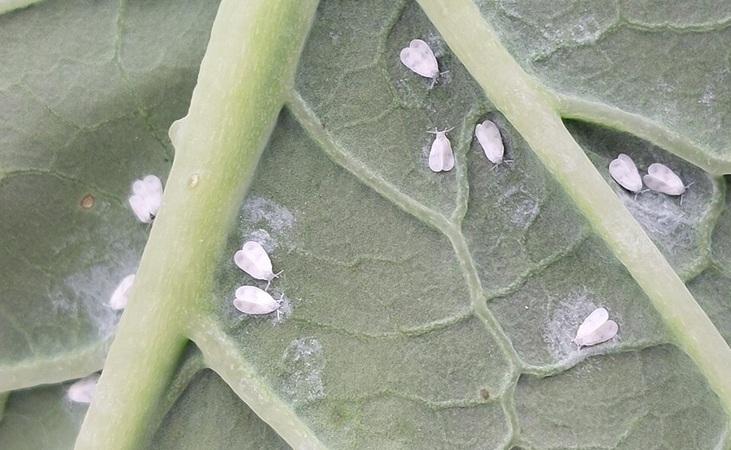
Control: Remove any yellowing leaves at the base of the plant, as they may be harbouring aphid eggs. You can wash off whitefly, honeydew and grey mould with a strong jet spray of water.
Clubroot
Clubroot is one of the most tricky diseases you'll encounter in the garden, but with the proper precautions it can be successfully controlled. If you start a new vegetable garden the chances of having clubroot are pretty slim, and you can prevent it entering quite easily.
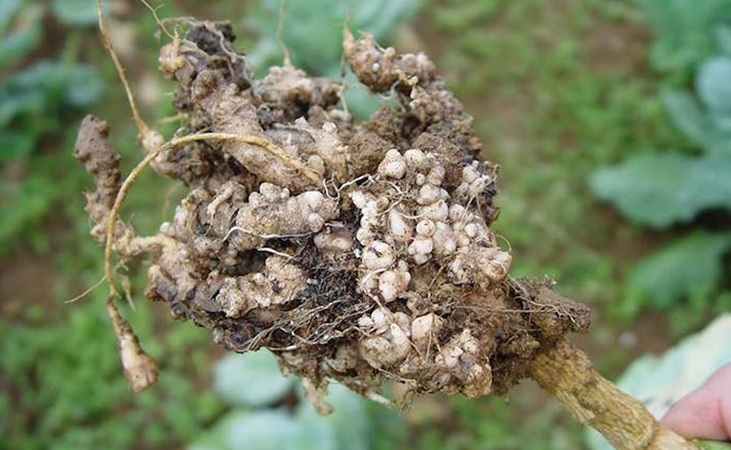
If you do get clubroot the cysts survive for up to 9 years in the soil. You won't be able to grow any of the cabbage family (brassicas) until it's gone so you've been warned!
The disease usually arrives in your garden through infected transplants or by walking from infected soil into a virgin patch. If you have an isolated garden you are unlikely to get it, whereas you need to be more careful in established allotments.

Premier Timber Raised Beds 22.5 cm H
View ProductSymptoms: Poor growth with wilting leaves of a reddish-purple colour. If you pull up the roots you'll see swollen, knobbly deformed growth with a pungent foul odour. In more advanced cases the roots will have dissolved into a slimy pulp.
Control: If you have clubroot already? Seek out varieties with resistance to the disease - this will be clearly marked as an advantage on the pack. Otherwise you'll just have to live with it, but you can minimise its effects by doing the following:
- Not composting your brassica roots; burn them.
- Don't sow green manures from the brassica family (Mustard, Rape)
- Start your plants in modules (I'd recommend that anyway).
- Lime the soil the previous autumn to make it more alkaline (Clubroot likes acid conditions).
- Grow in raised beds, as clubroot likes wet conditions.
Harvesting Kohlrabi
Kohlrabi is usually harvested at tennis ball size. Most gardeners will tell you that if left to get any larger it will get tough and woody. In my experience though - as long as you keep the plant well watered and fed - larger Kohlrabi will be just as tender as small ones. Clearly, don't take this to the extreme - big old plants will taste like your kitchen table.
Pull the stems and root from the ground or cut below the stem with a sharp knife. Kohlrabi doesn't store well, so harvest as you need it. If you want to store kohlrabi for several weeks, remove the leaf stems and place (unwashed) in sealed plastic bags in the refrigerator.